
Bob's Resource Website
Rear Brake rebuild / Hawk & Avanti rear brakes

Click on pictures for larger view
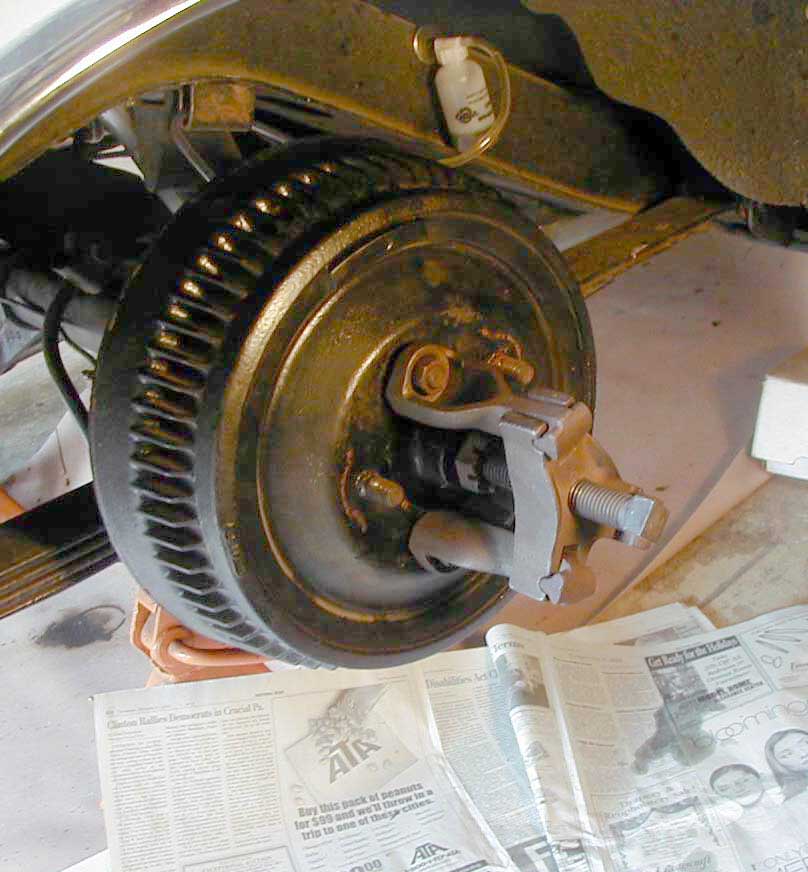 After removing the cotter pin and breaking the axle nut loose. Remove it, flip it over and spin it back on the threads so the ends of the nut and shaft are flush. This will protect the threads from being damaged by the puller.
Mount a suitable brake drum puller, like the one shown (*) to remove the drum / hub from the axle shaft. Tighten the puller drive pin up to the axle shaft and rap sharply with a small sledge hammer to break the hub loose. A couple sessions of tighten, rap should release the grip. (*) DO NOT USE any other type of puller to remove the drum/hub. You must grab the lugs to remove the drum. If you use a tool that grabs the rear edge of the drum, you will destroy it. You can use heat (Mapp, acetelene) to get the parts to expand if they are really difficult.
Target the heat on the hub, close to the center and don't overdo it. Kroil is a good rust dissolver, but be sure to clean every last bit off, before you reassemble the parts.
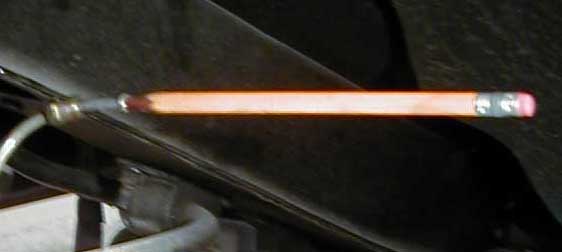 Remove the brake line to the rear of the backing plate and jam a pencil into the flared tube to prevent brake fluid loss. Pull the spring back from the end of the E-brake cable and slide off the internal brake lever. Pinch the expanders which are holding the E-brake cable into the backing plate and remove the cable from the backing plate. Remove the 4 flange nuts which hold the backing plate to the flange and remove the backing plate and brake assembly.
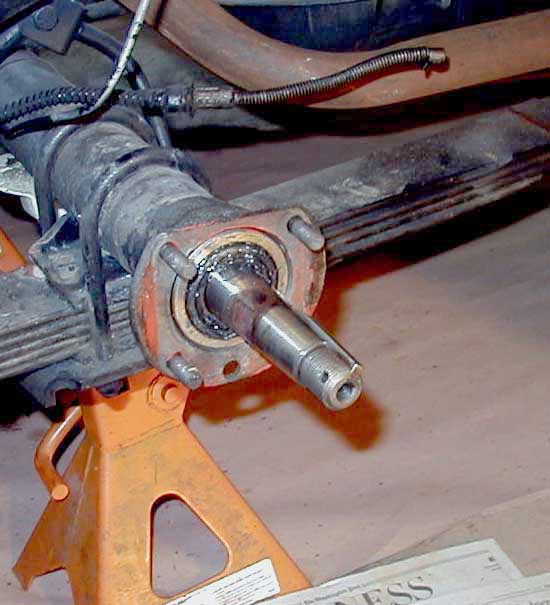 After removing Drum/hub, felt seal cover & backing plate, you can continue and pull the axle shaft and bearing out of the housing to repack it ( every 25,000 miles) or to install a new CR13165 axle seal.
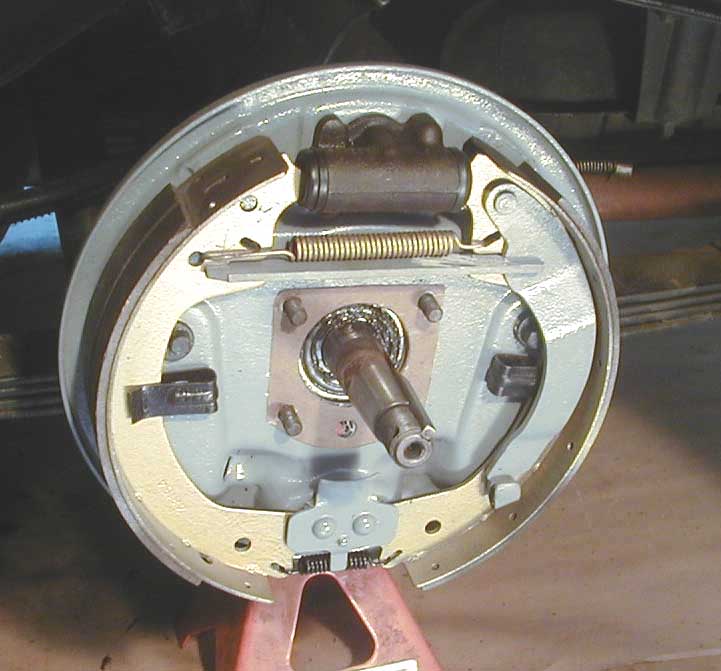
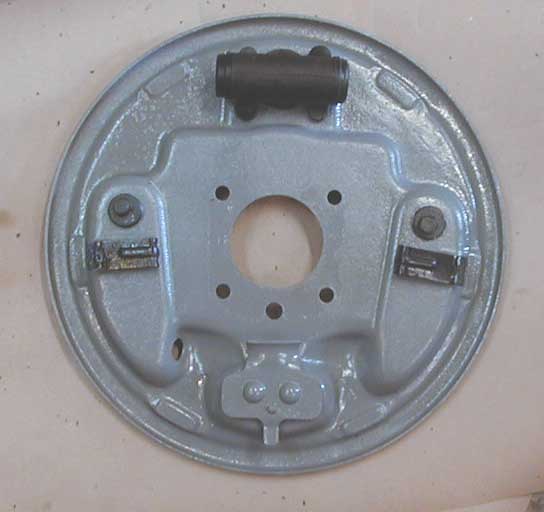 After cleaning up the backing plate and hardware, start reassembling components. The brake cylinders for this application are 3/4" in diameter and are NOT the same as the Drum/Drum application. The cylinder is a Lockheed FD8374 and the kit is a Wagner F8418.
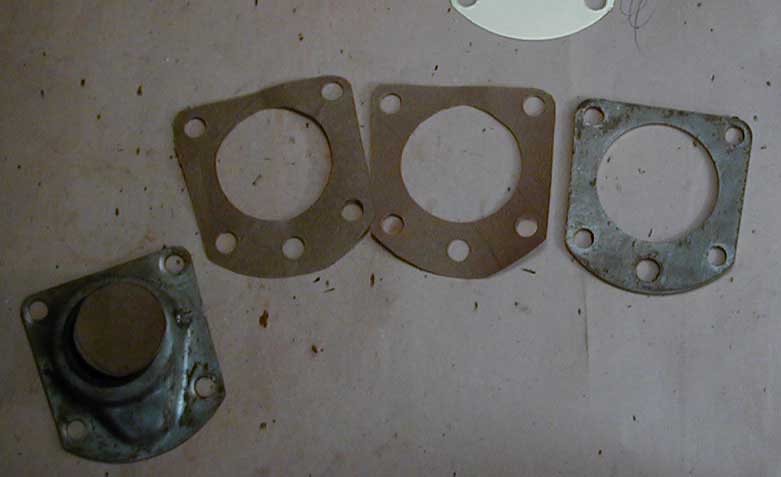 A handy template for making axle gaskets is the bearing retainer plate which comes off with the felt seal retainer
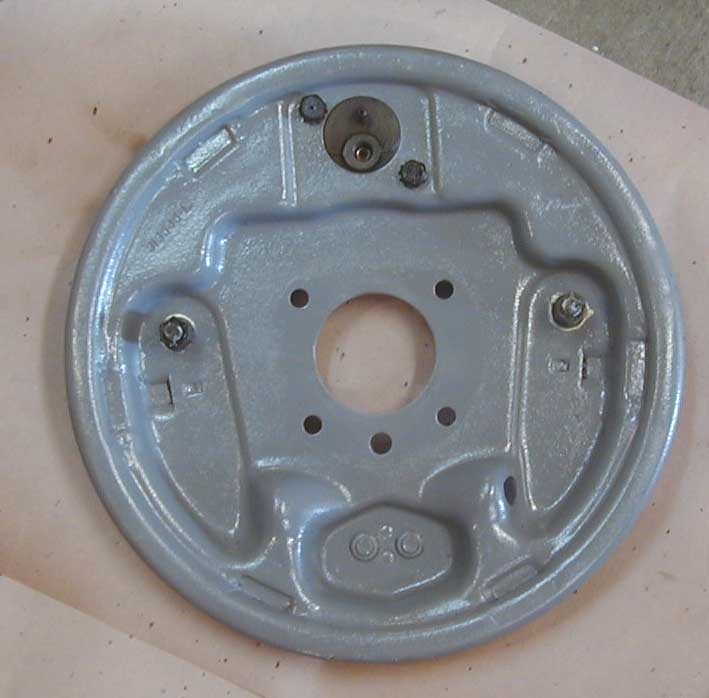 Use white lube installing the brake adjustment cams to prevent siezing. The adjustment is held tight by a lockwasher
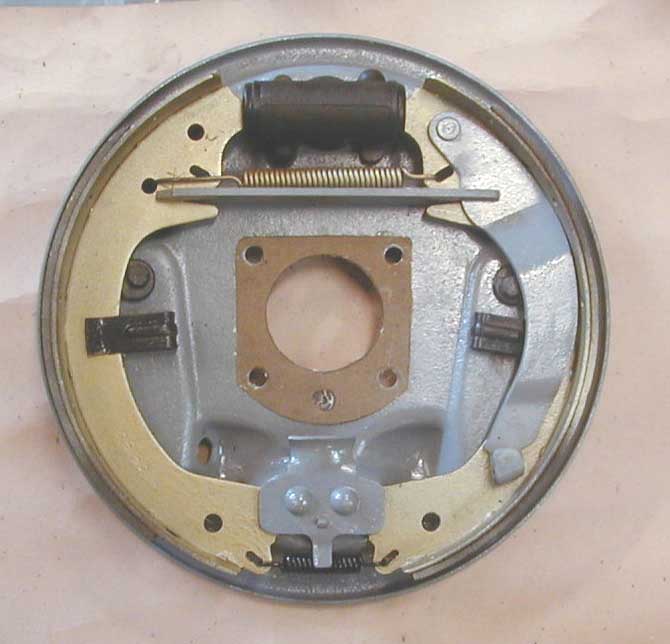 Use contact cement to attach the paper gasket to the backing plate. Install the brakes and all hardware at this point.
If you need to replace the rear felt grease seal, here's the how-to....
 Likewise, cement on the first flange gasket
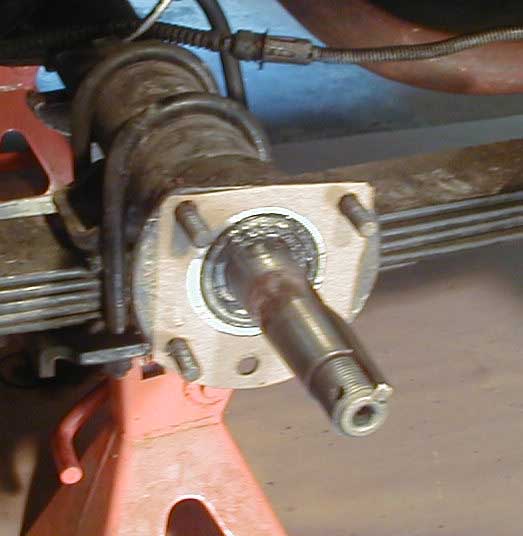
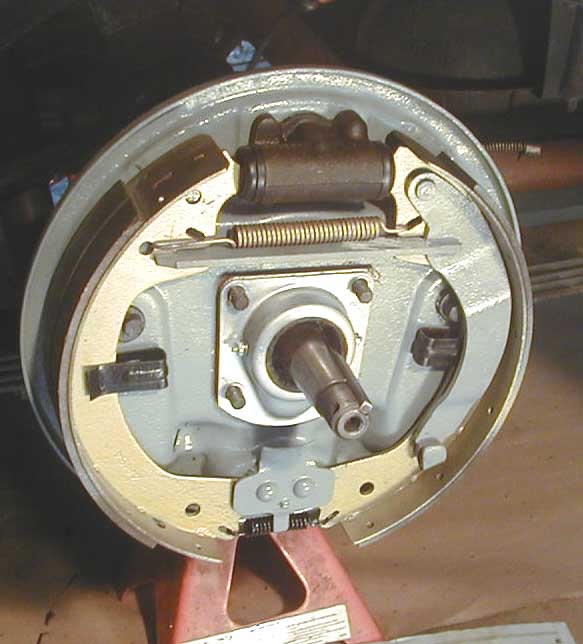
 Place the backing plate on the flange. The bolt heads lock on the axle housing and will not turn. Notice the bearing cannot fit thru the backing plate. To repack the bearings, you must remove the backing plate.
 With the bearing retainer plate, felt seal and cover in place, notice the new bolts installed on the seal cover don't interfere with anything
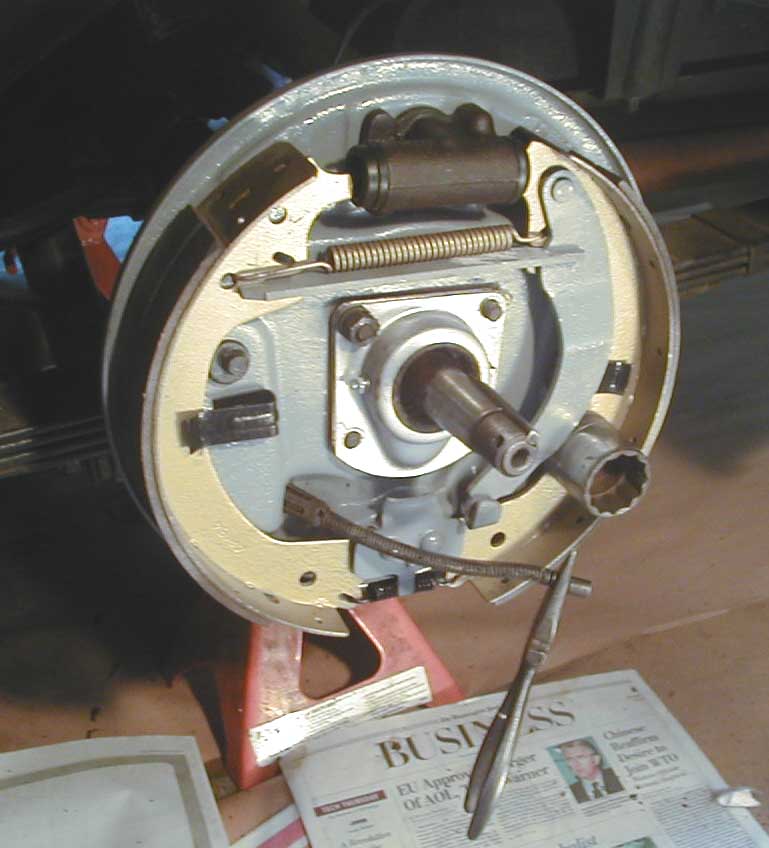 Pull the E-brake cable thru the backing plate. Use a socket to move/hold the lever closer to the end of the cable. Use a needle nose pliers or whatever means you can to pull the spring back enough to fit the cable to the receiver loop on the lever.
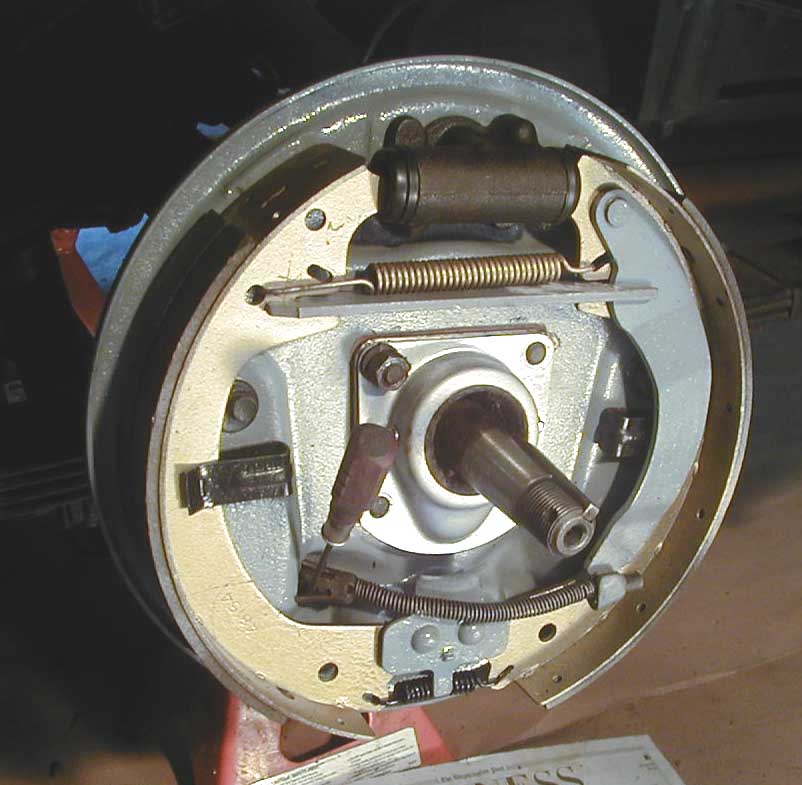 Expand a couple of the collar tabs to hold the cable in place. Fit and tighten the rest of the backing plate nuts/washers. Torque to 30 ft/lbs. Check bolts on brake cylinder and re-attach the brake fluid line. Leave the brake adjusters loose.
