
Bob's Studebaker Resource Website
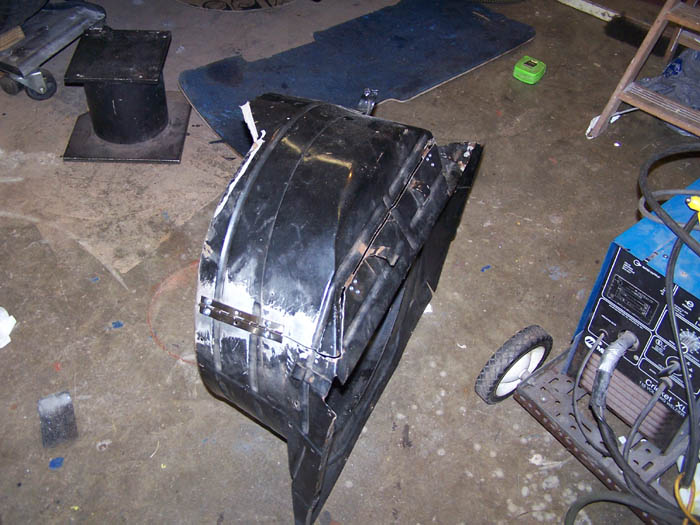
Two piece Studebaker Fan Shroud
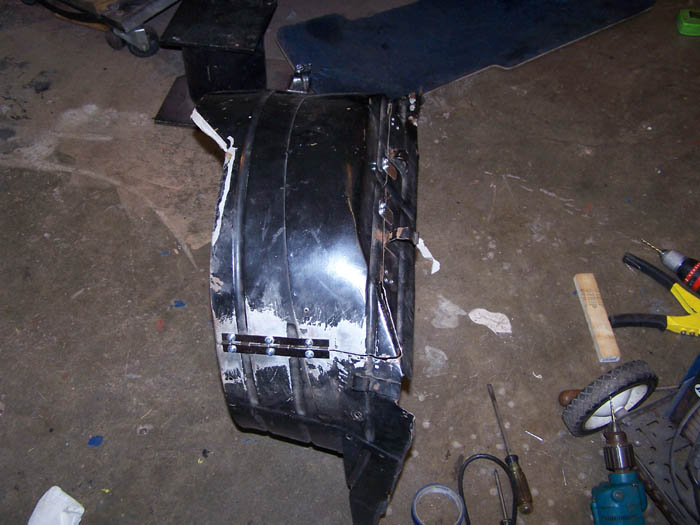
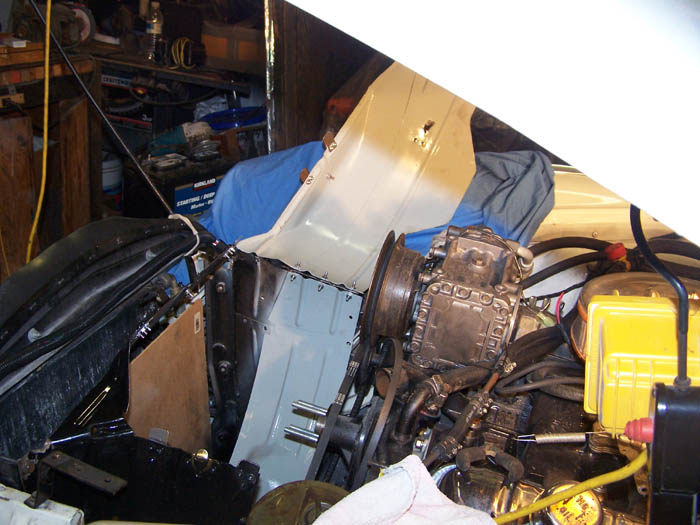
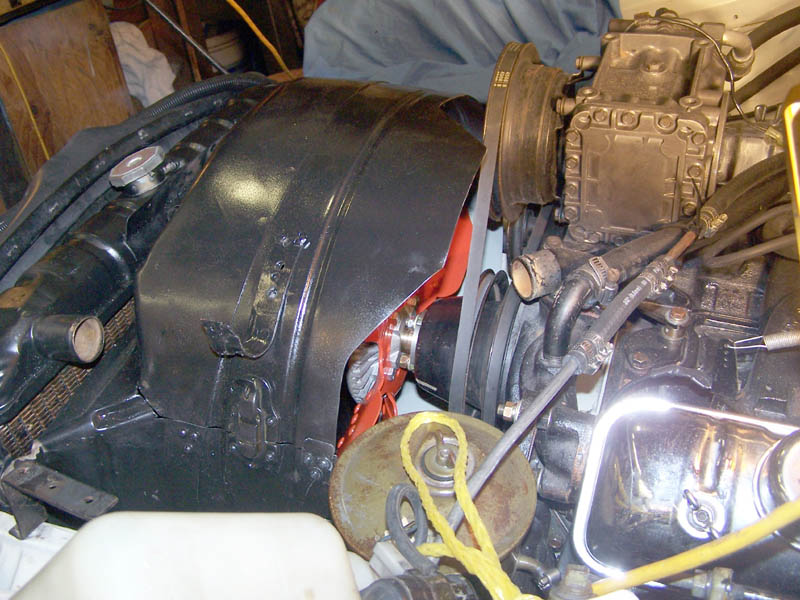
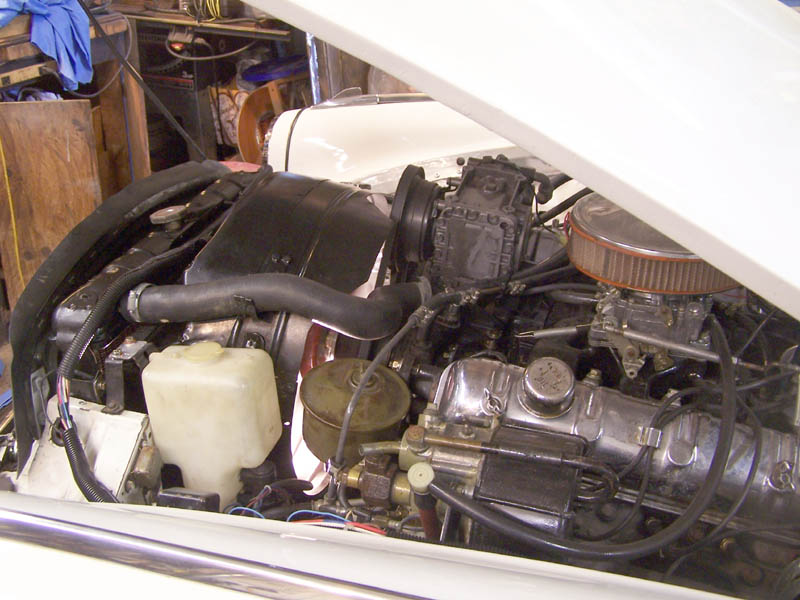
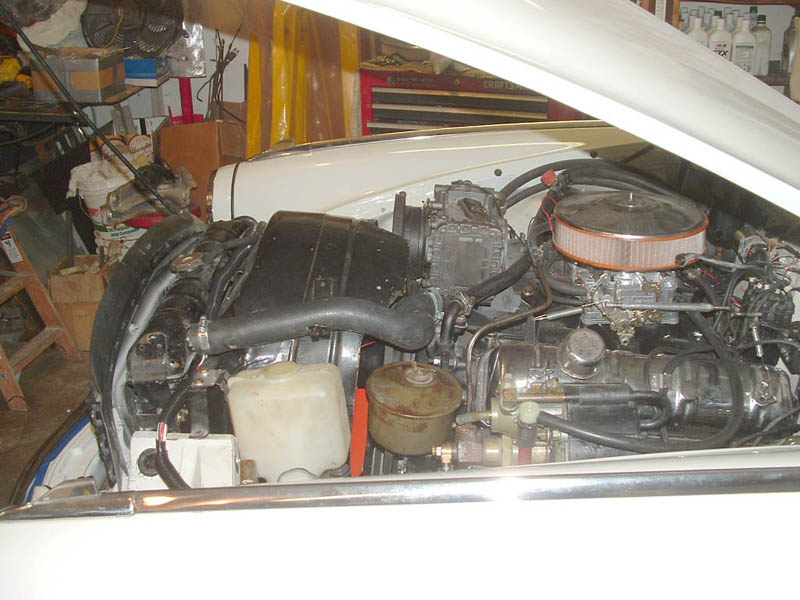 Imagine trying to get the fan or water pump serviced on this quickly... |
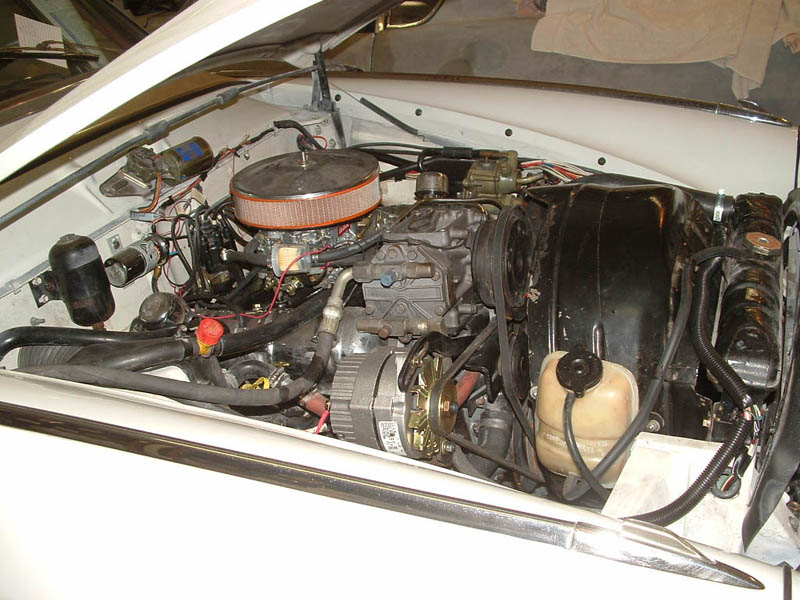 Quite a chore.... So it was decided to modify the shroud..... |
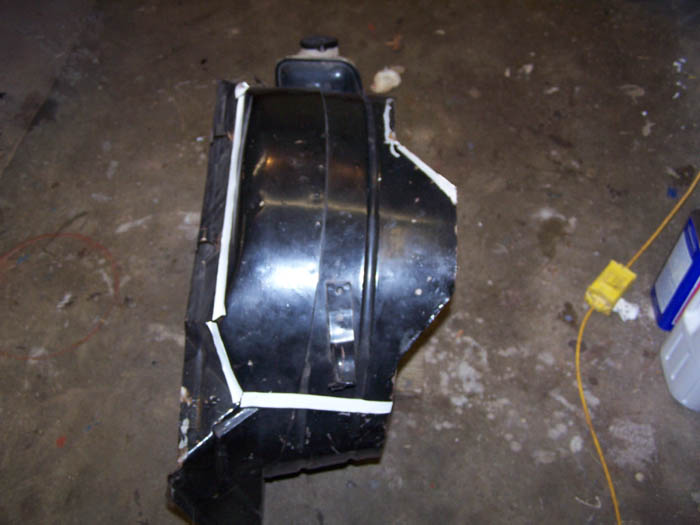 First tape the shroud... |
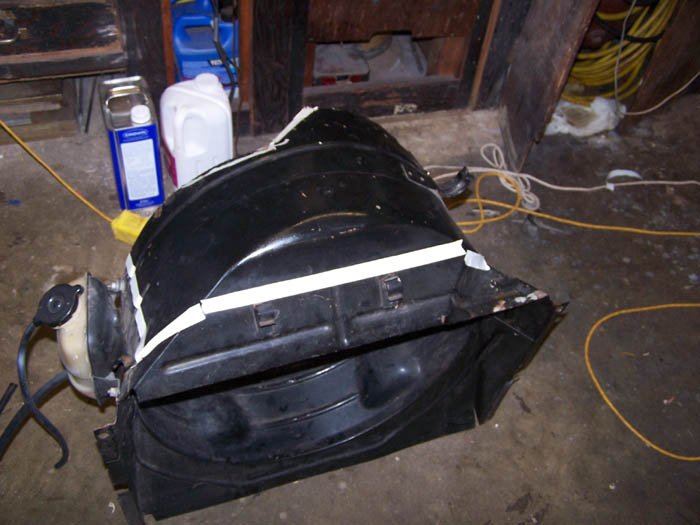 ...so you can draw the cut lines with a ... |
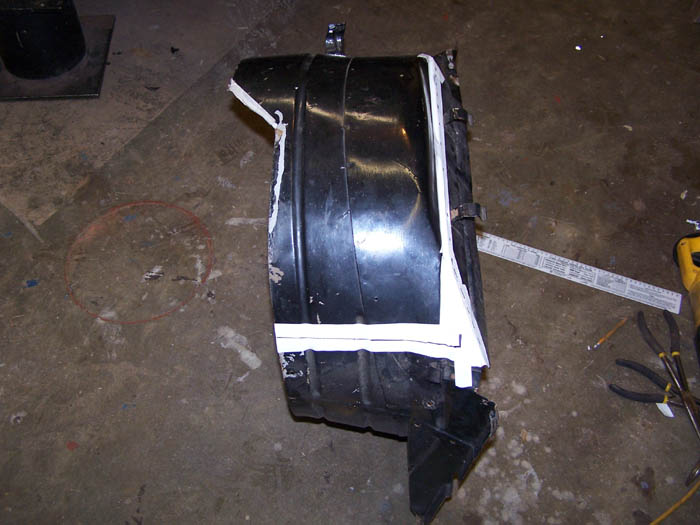 ...marker pen |
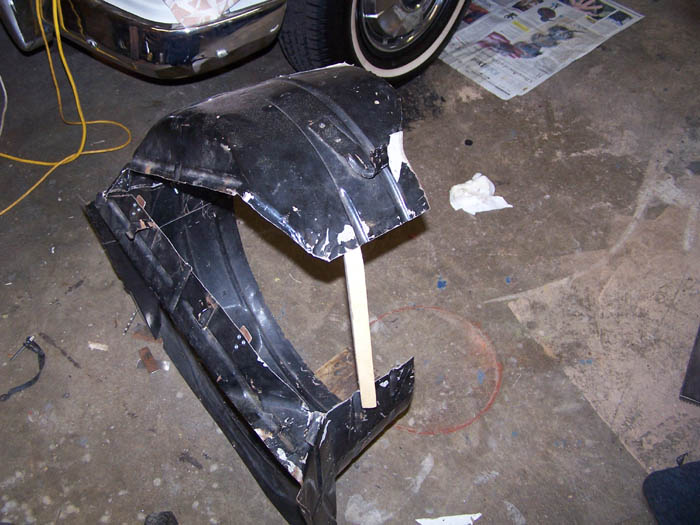
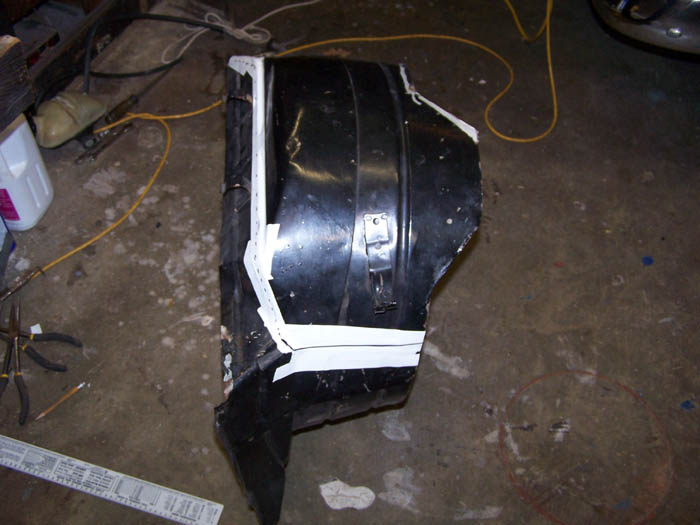 Keep the lower part of the shroud intact, only removing the top section |
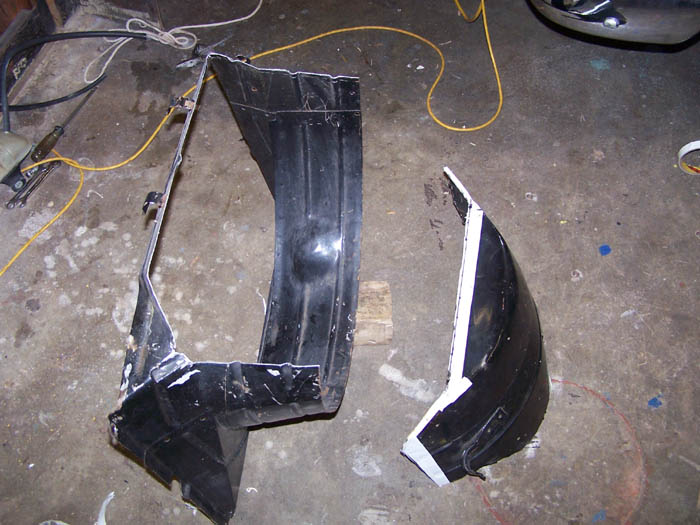 Once cut, file the edges round |
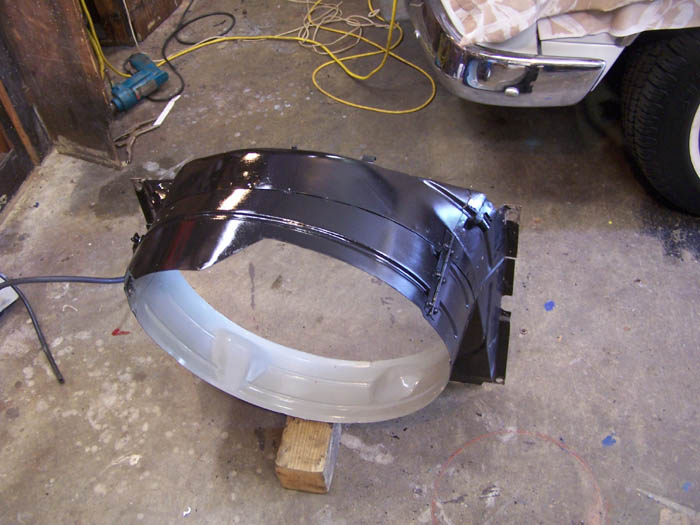
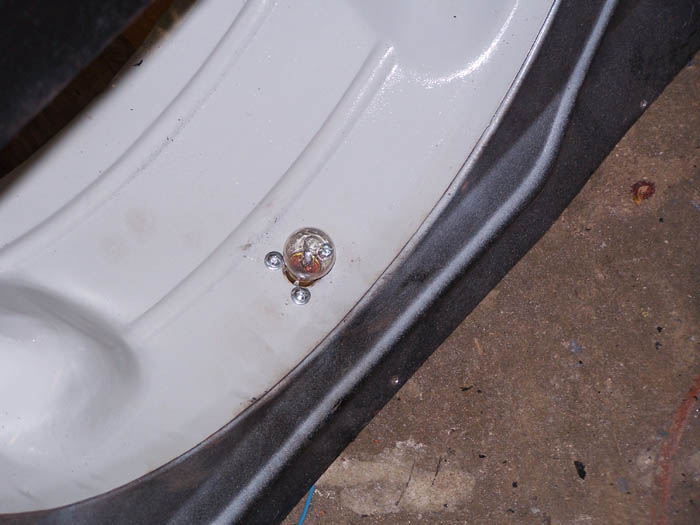
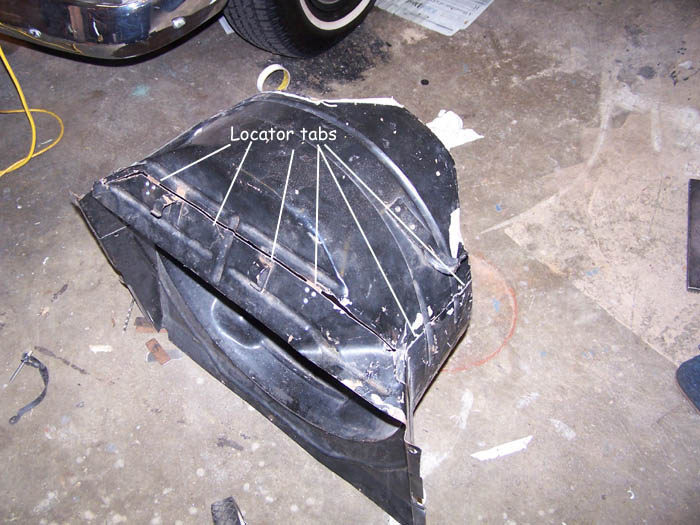 1"x2" sheet metal locator tabs were placed where indicated |
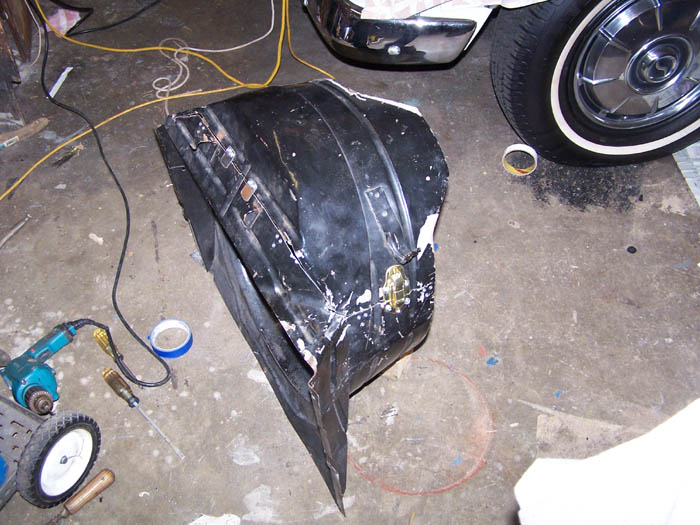
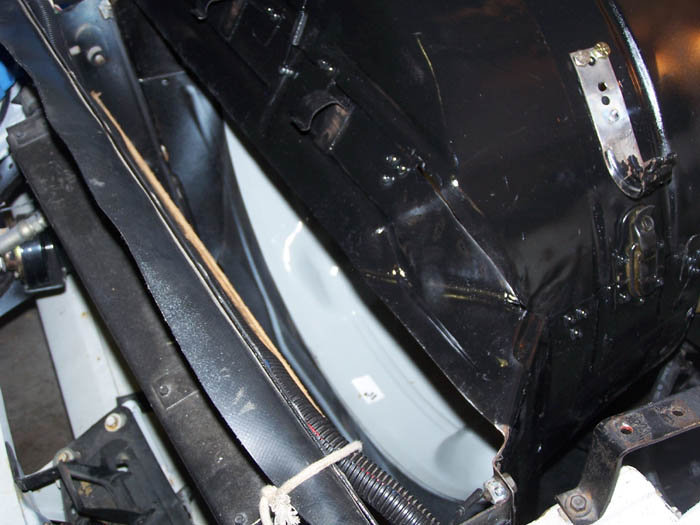
 a 6" section of piano hinge was fastened to the passenger side |
 |
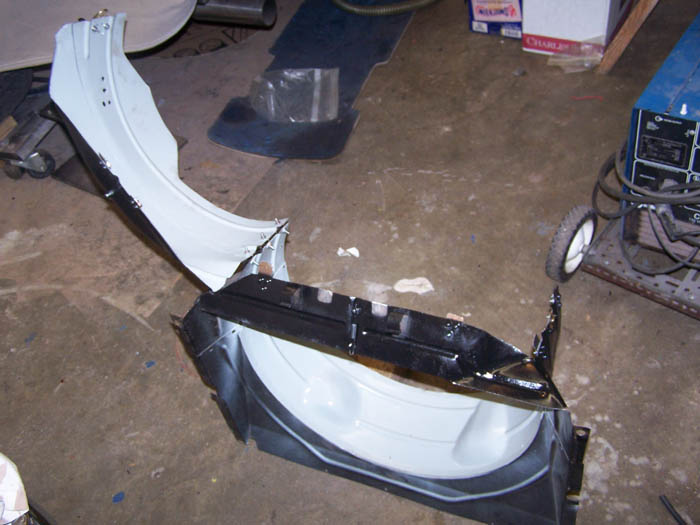
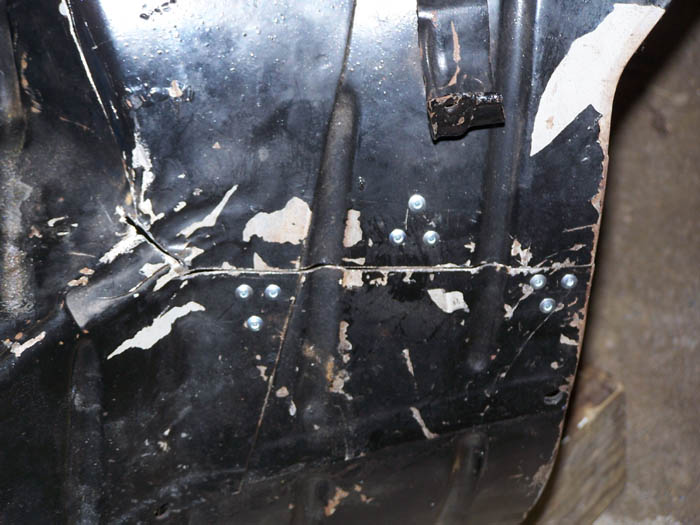 3 locator tabs were fitted to the clasp side |
 ..over the center tab, a spring clasp was mounted.. |
 ..Three of the tabs were reworked to act as guides for the top cover. As the cover is closed, the double tabs capture the edge and keep it rigid. |
 |
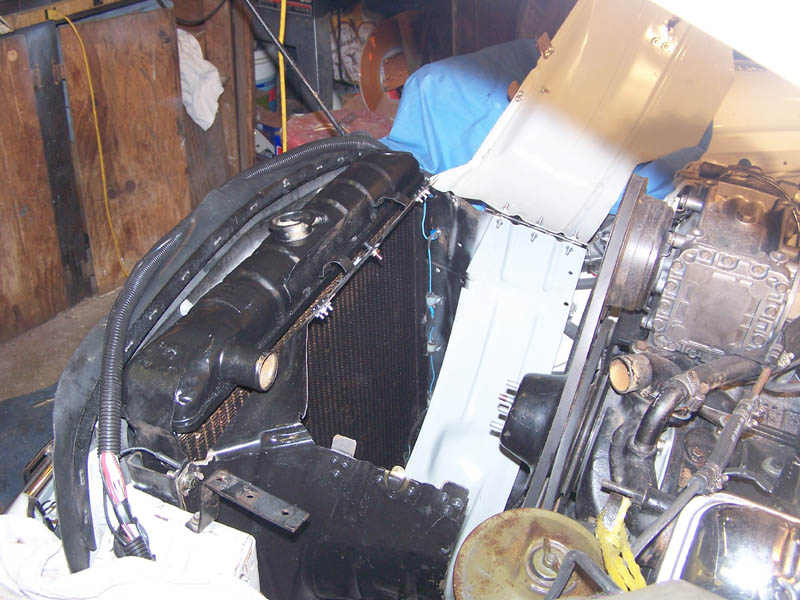
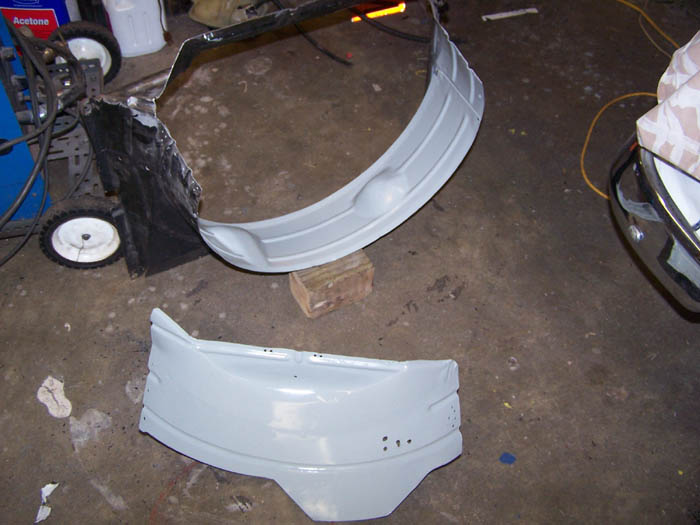 ..The pieces were sanded clean and the inside sprayed Light machine Grey |
 ... |
 |
 |
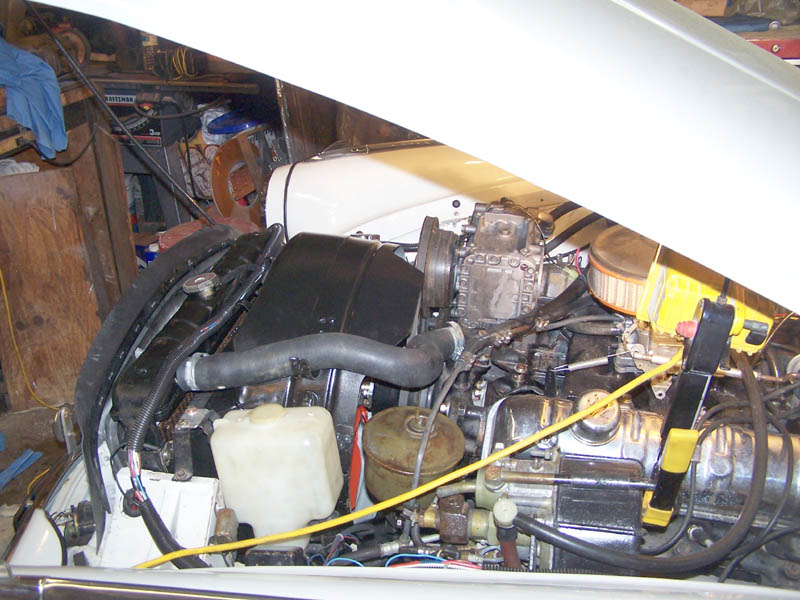
 ...test fit.... |
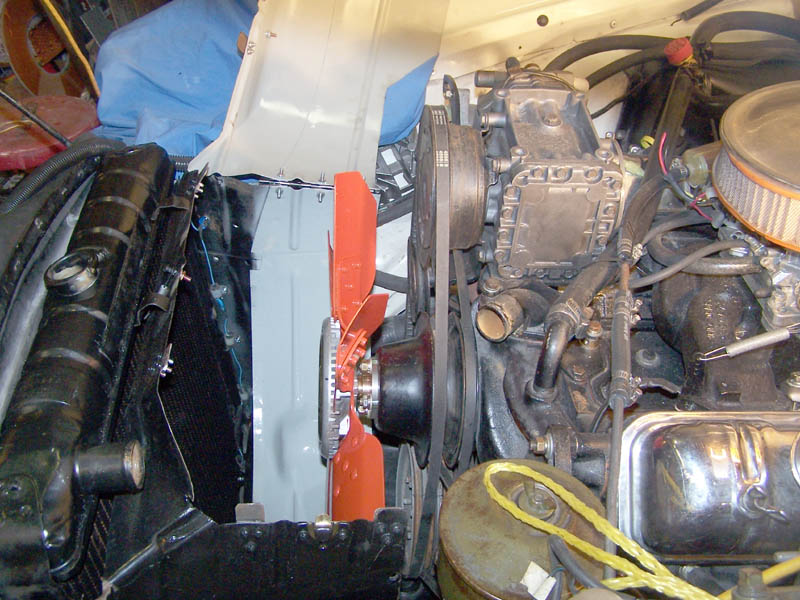
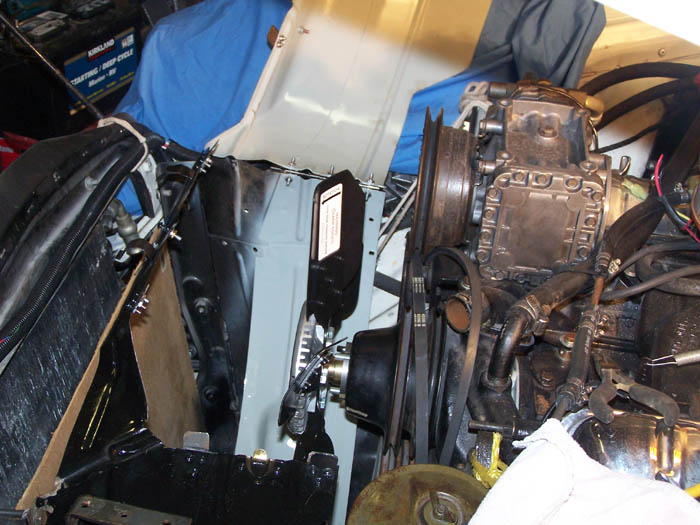 ...then with the fan... |
 ...another idea... |
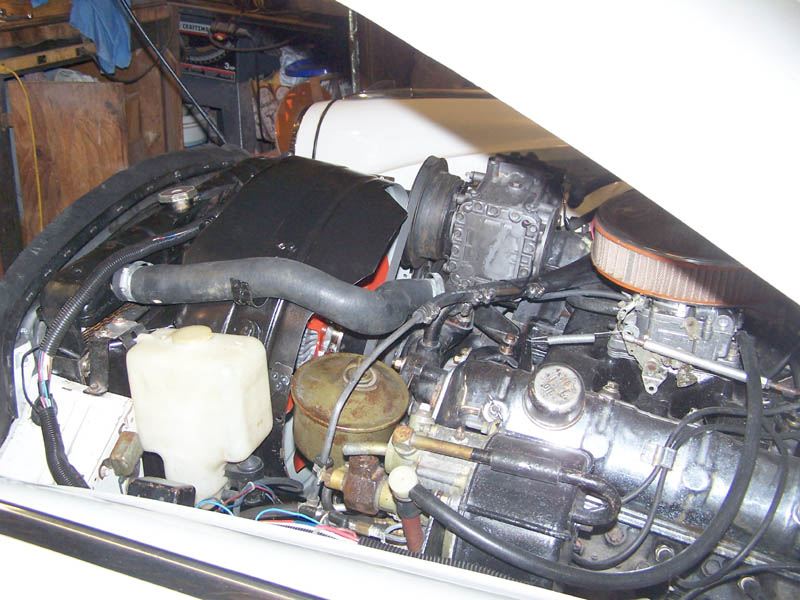
 ... a trouble light to see in the dark.. |
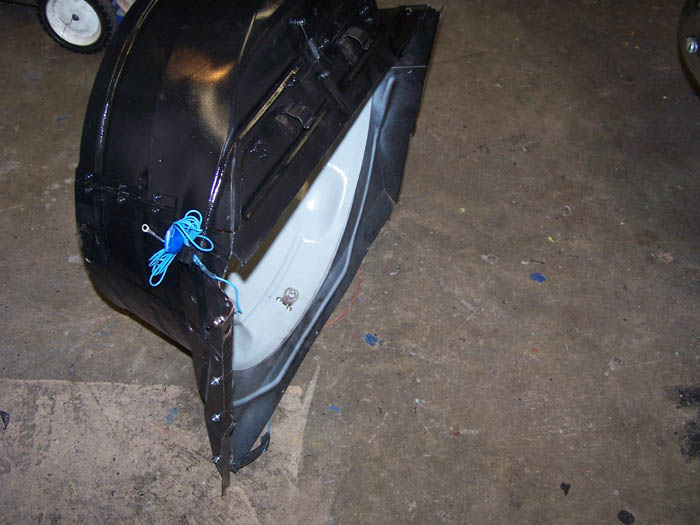 ...fitted and wired |
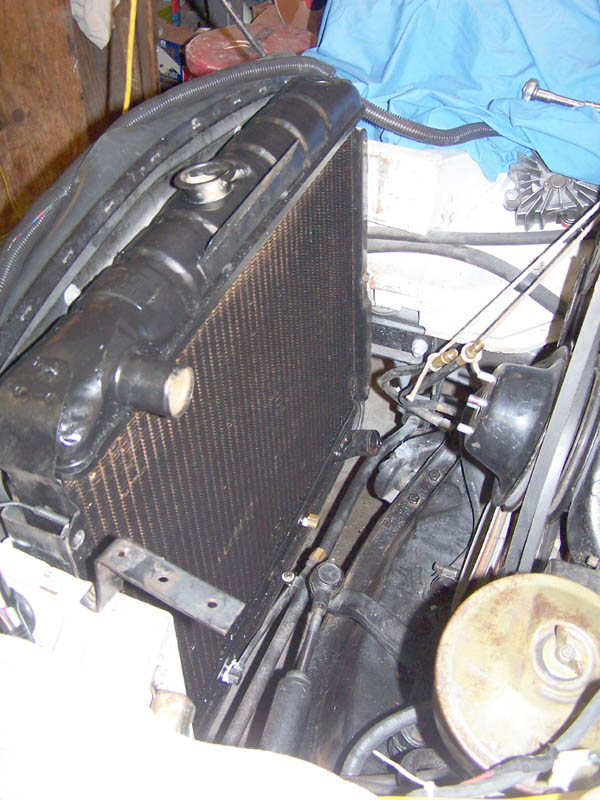 ...the new 3 row radiator.. |
 ...one |
 .....two |
 .......three |
 ............four |
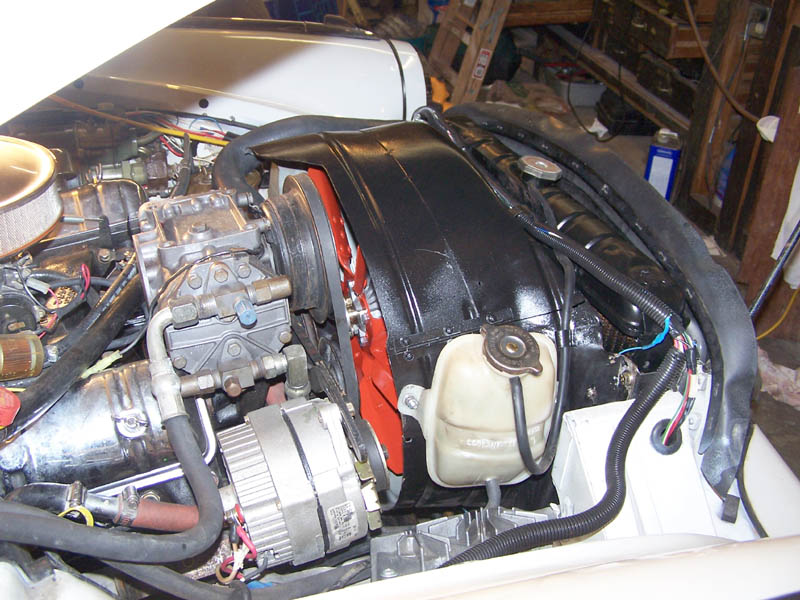 ....not too shabby |
 ....and makes life a bit easier... |
 |
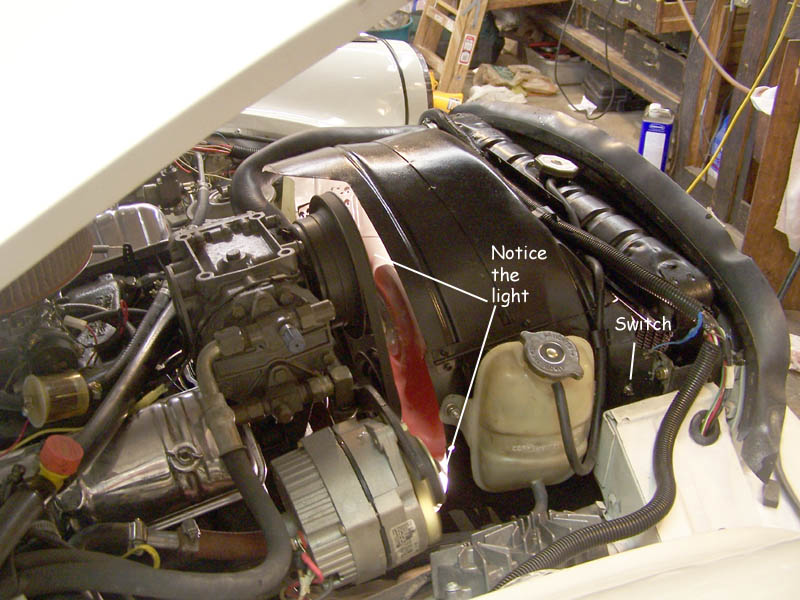 ....and the light works too.. |