
Tech Pages. Installing a National Speedi-sleeve (National 99199) over the crankshaft hub
Click on pics for a larger image
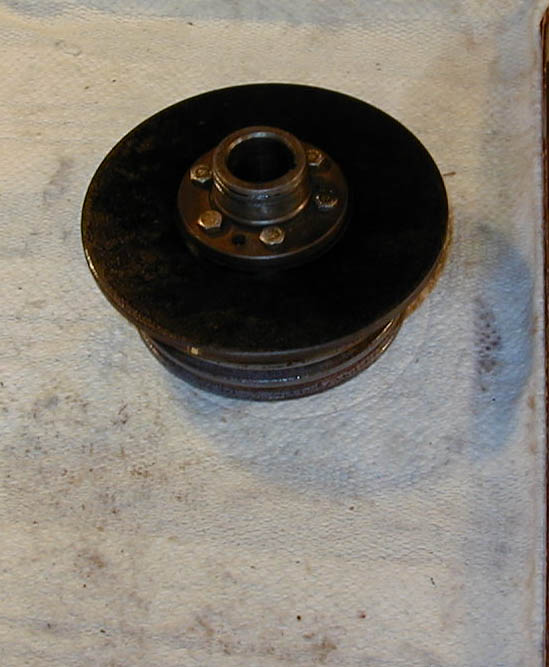
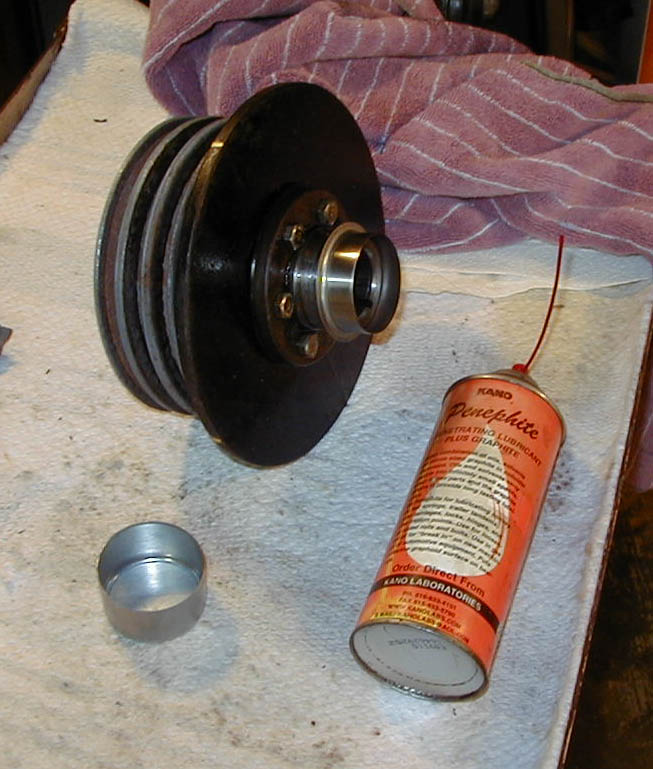
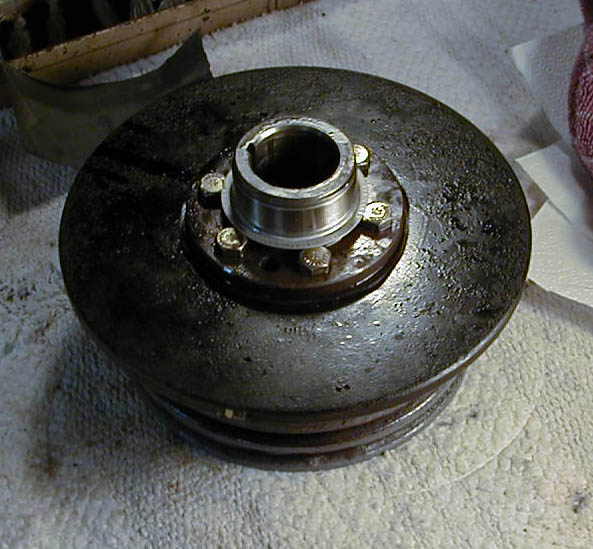
This procedure was done after installing all the pulleys and the damper on the hub. Since the flange of the Speedi sleeve butts up against the heads of the pulley retaining bolts, the assembly must be ready to mount on the car. Place the hub assembly on a rigid surface.
Dress down the outer side of the hub which used to ride on the felt. This is where the sleeve will now cover. If there are any high spots, they can damage the thin wall of the sleeve and render it useless.
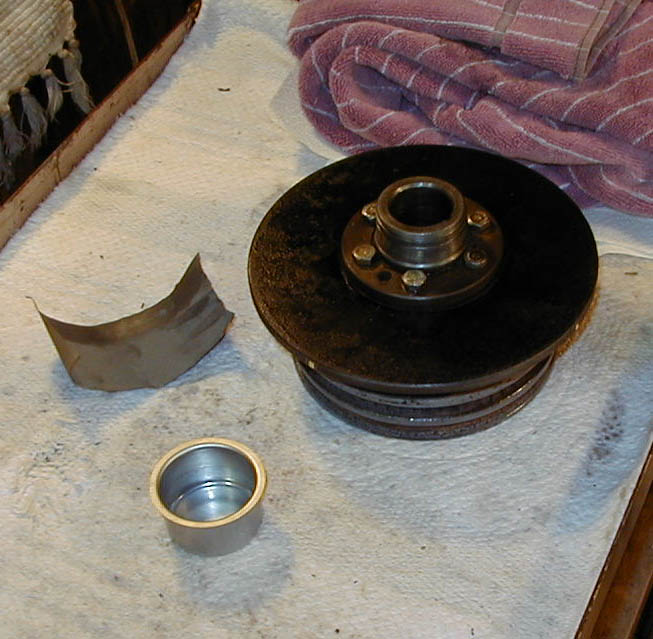
After dressing the outer surface of the hub, remove the sleeve from the installation tool and oil the inner circumferencewhich will ride over the hub.
The sleeve is a precision-machined stainless sleeve. Use a high grade lubricant to help reduce friction when driving it onto the hub.
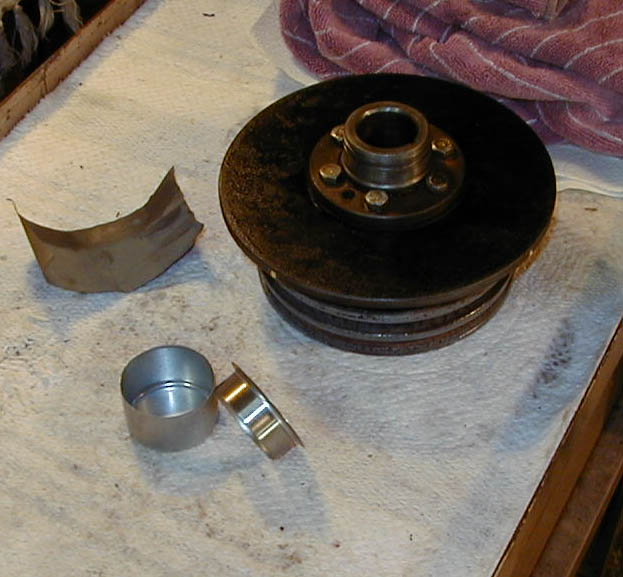
Place the sleeve over the hub and locate the proper fit using your touch. You can work it onto the end of the hub slightly to assure proper alignment. Never use force until you're certain it's straight.
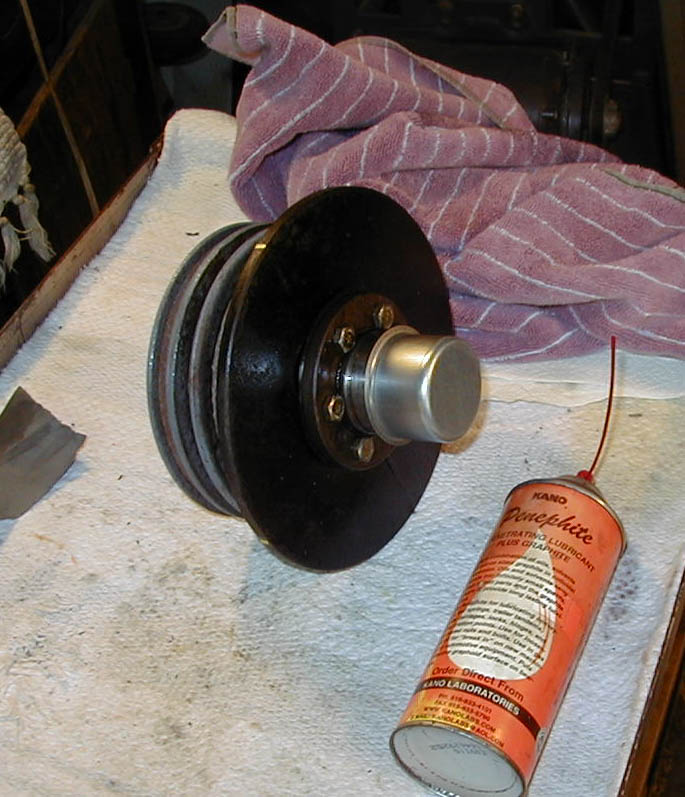
Place the driver cup over the sleeve.
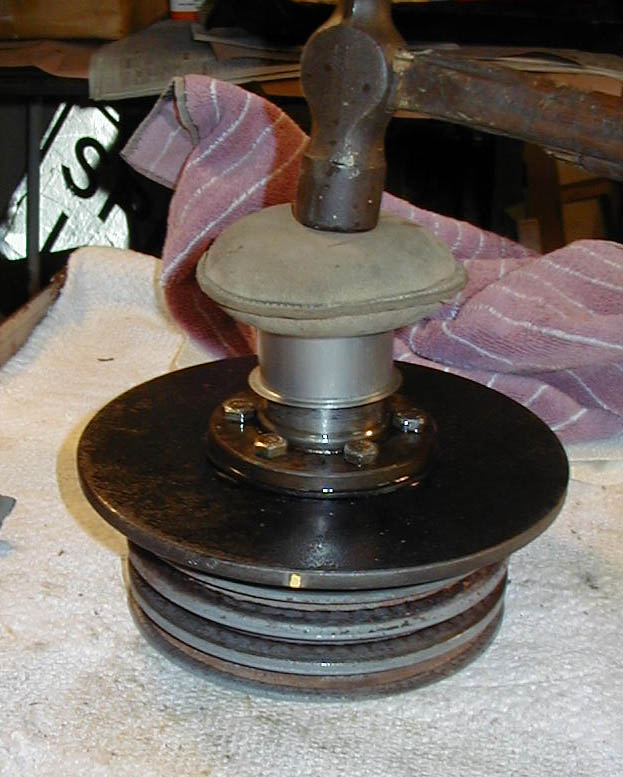
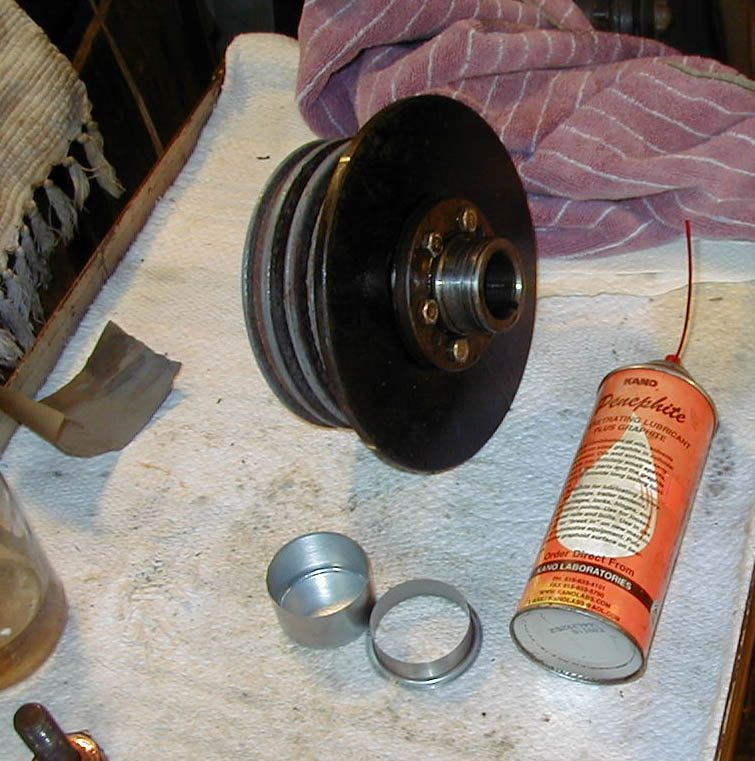
Use a means of spreading the force evenly over the sleeve and use light raps to start it on the hub. Used here is a leather covered, lead shot bag. These can be used to absorb any rebound of a hammer and create a 'dead-blow'.

After getting a good start, you can revert to rapping the perimeter of the installation tool, to continue the sleeve onto the hub. The cup is disposable and thrown out after the install
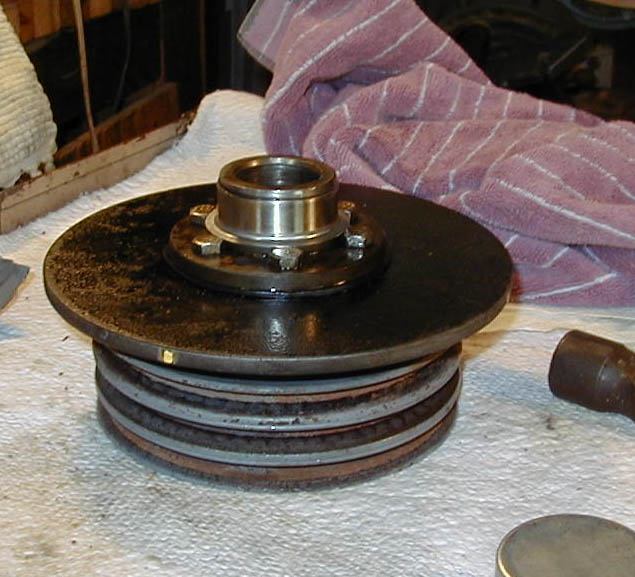
The heads of the pulley retaining bolts will stop the sleeve as seen above and below The sleeve is designed to allow the leading edge of the sleeve to be removed, if necessary.
The area of the sleeve where it now touches the pulley attachment bolts is micro-scored, so you can tear off the perpendicular piece if you carefully use a needle nose pliers. Leaving it on won't hurt and will act as a slinger if any oil gets past.

While the hub us on the bench, work some oil onto the neophrene seal inside the timing cover.
Warm (read warm, only) the hub with a short session, using a propane torch. You don't want it hot enough to melt the seal..... This will expand it a bit and make it easier to install
There is also a tool available from Fairborn or Malcolm Berry to greatly aid in installing this part.
Return the hub to the crankshaft. It's a good idea to mark the outer pulley as to the relation of the woodruff key. This is at the #1 (TDC) position.
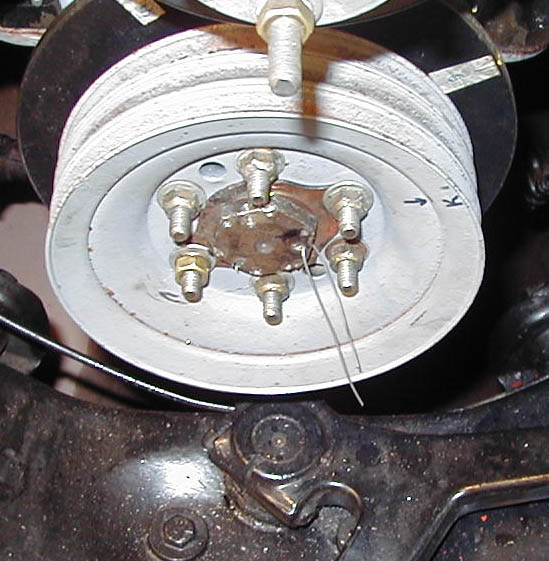
One other area some may encounter is an old beatup crank bolt. Getting them in and out usually takes it's toll on the head. Cleaning up all the punch marks and gouges can present an undersized socket size. If yours is somewhat questionable as to it's holding capability, try this.
The beatup crankbolt head will give you doubts about how much torque you can place on it. Try using an impact wrench to get it the farthest and then safety wire the crank bolt to the pulley retaining bolts. I had pre-drilled angled holes in the crank bolt prior to this install.
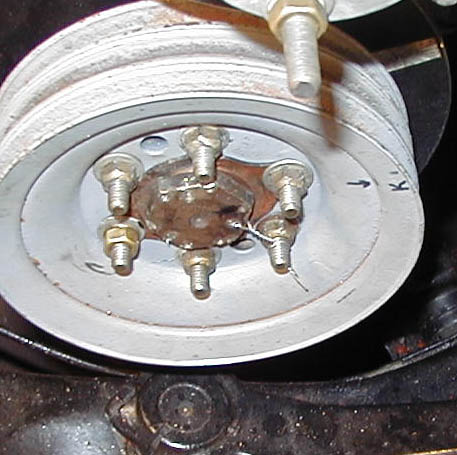
In any case, torque the bolt to spec.
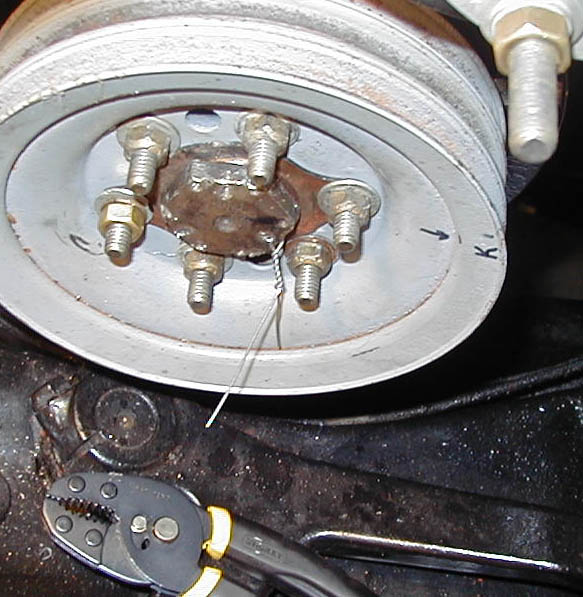
Loop around 3 inches of stainless wire through a hole and use a small gripping pliers to do the twisting.
Once the length of the twist meets the bolt, loop the next turn over the threads and continue twisting.Get around 4-5 good turns and clip the ends off, bend the cut edge toward the pulley. Even if the crank bolt starts to loosen, it won't go anywhere.
When that's done, peen over the French lock, as best you can....
....... and 'yes', this bolt was replaced later...