
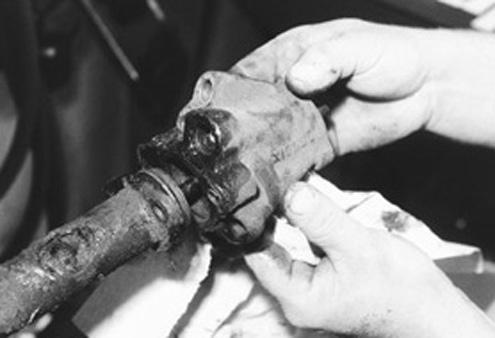
Bob's Resource Website (2007) Rebuilding your Power Steering control valve
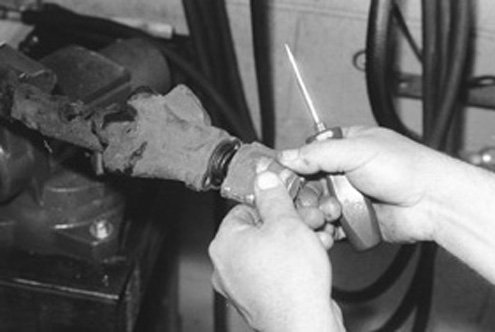
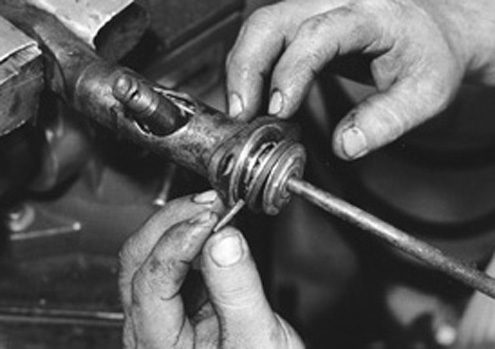
First, remove all hoses and hardware from the control valve. Use a tubing wrench for best results. Remove the spring cap using a common screwdriver .
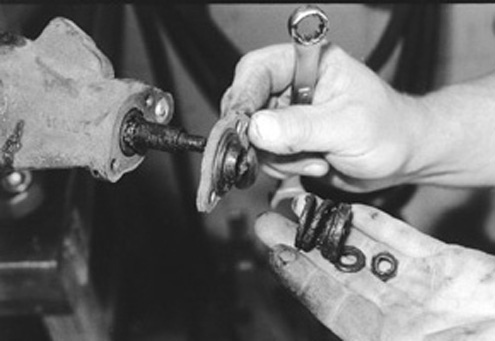
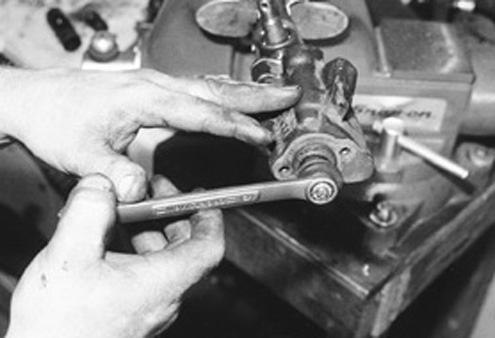
Next, remove the centering spring using a 1/2-inch wrench. Keep all hardware in order. The adapter plate is next.
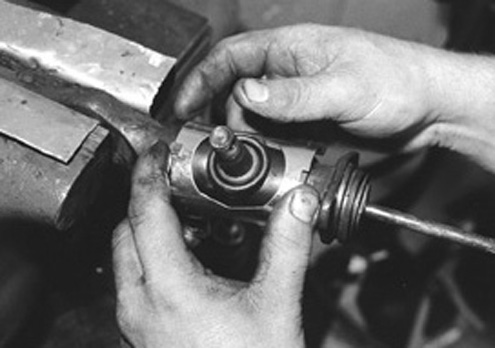
Remove the spacer.
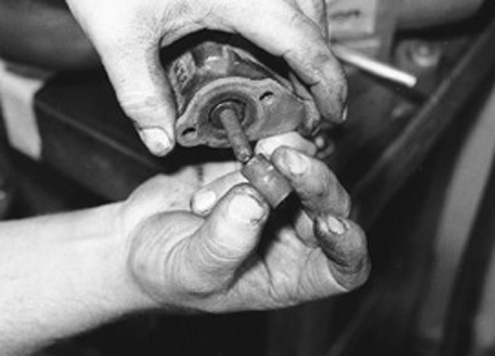
Remove the ball-stud dust shield and clamp.
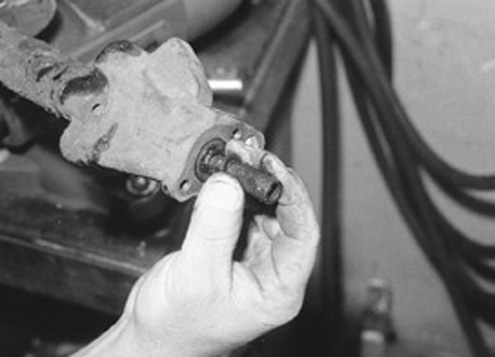
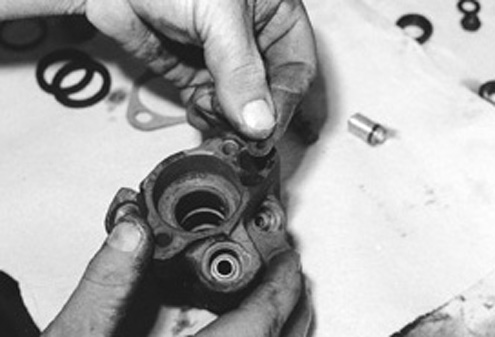
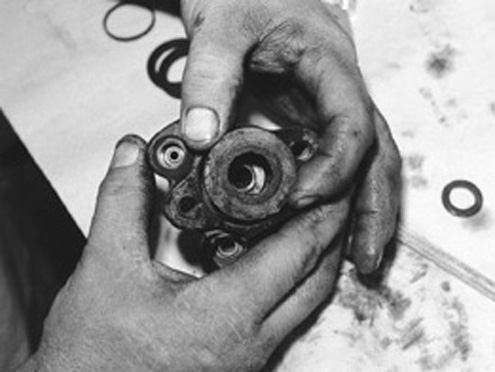
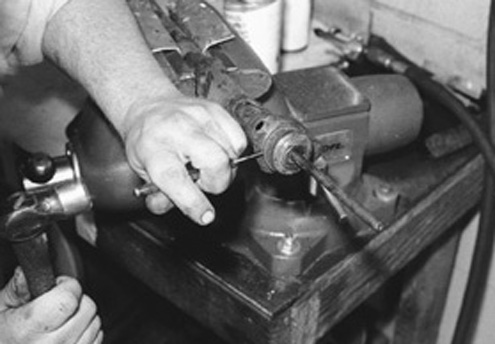
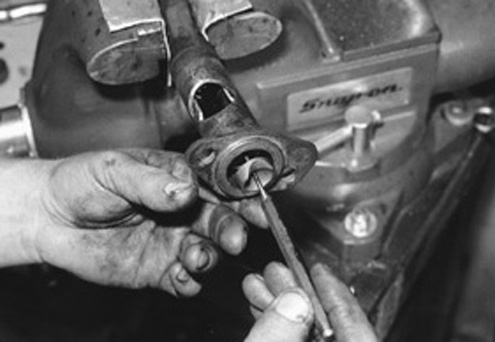
Remove the valve housing as shown.
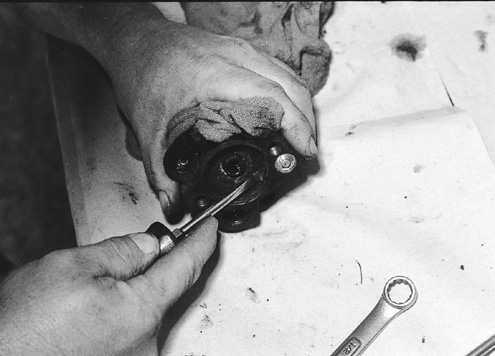
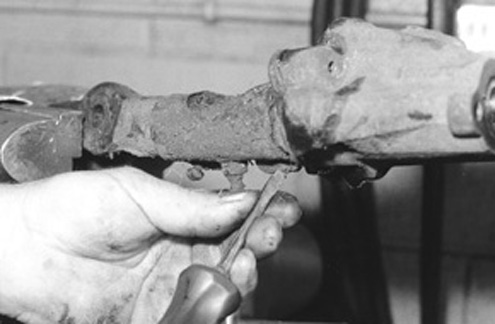
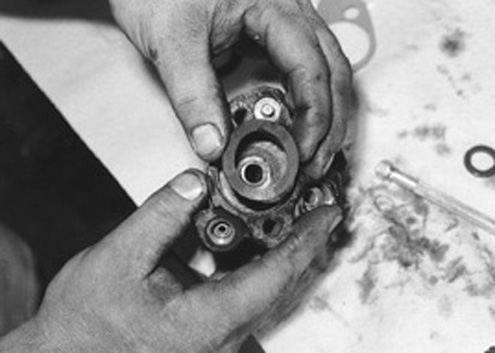
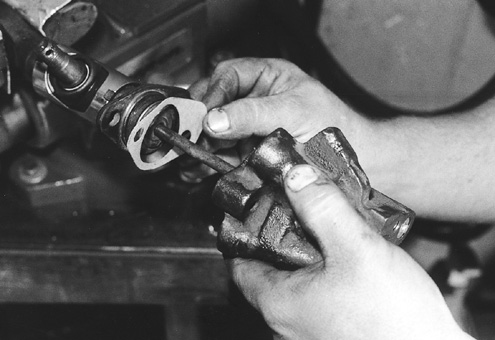
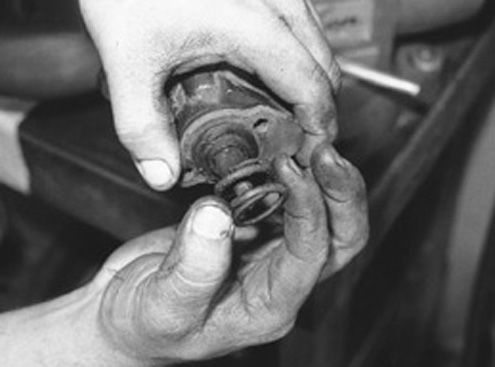
Valve seal bushings are next. Remove as shown.
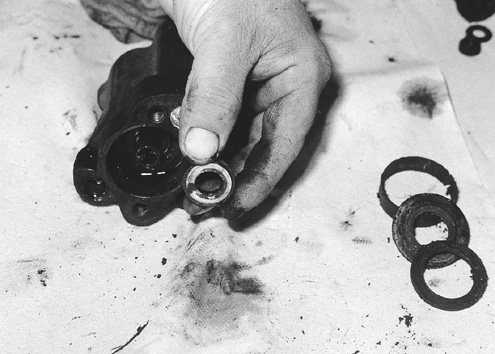
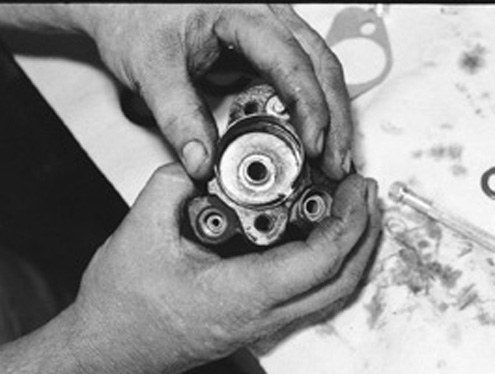
Remove as shown.
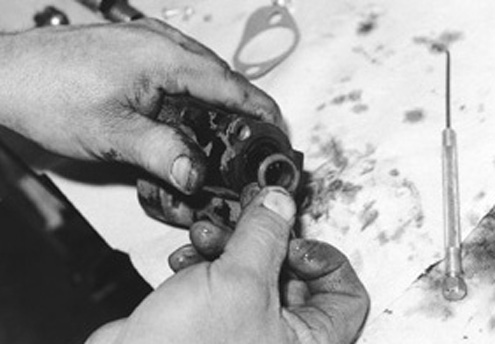
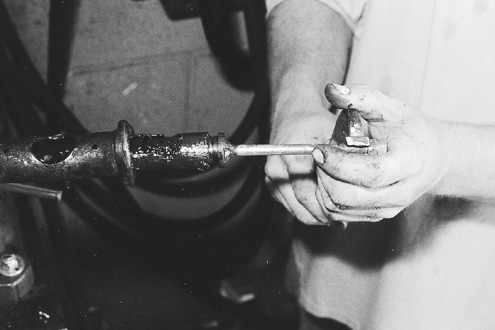
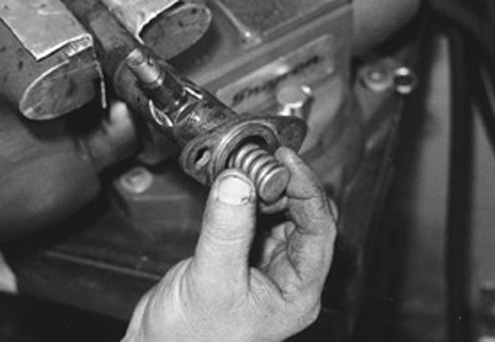
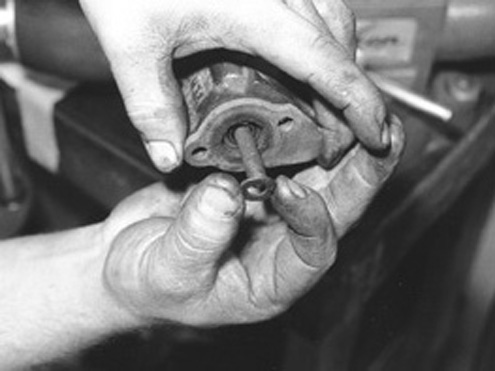
Slide the valve spool out. Inspect the valve spool for any damage.
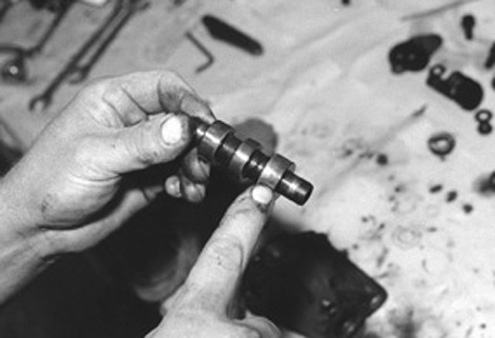
Not even a nick is acceptable here. Look for scoring.
If the valve spool is scored, the valve is junk.
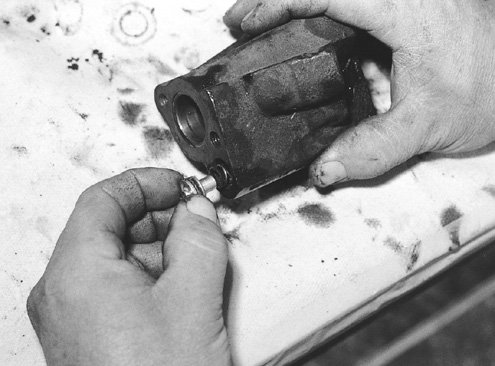
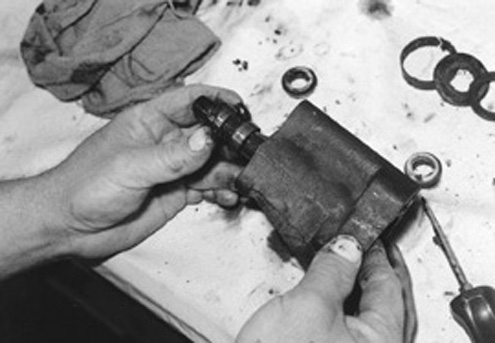
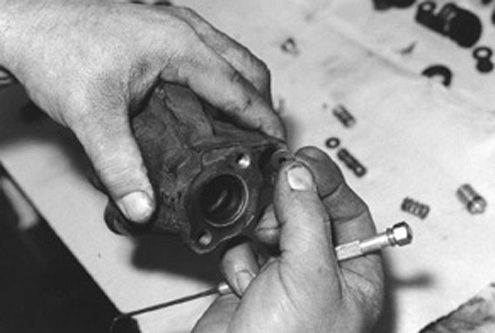
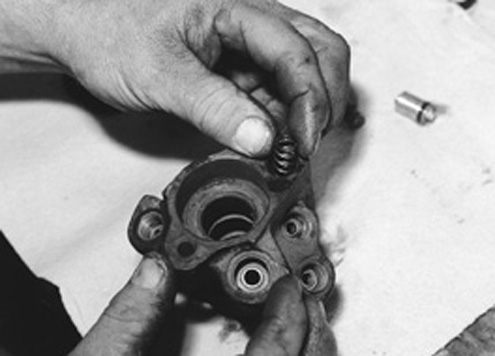
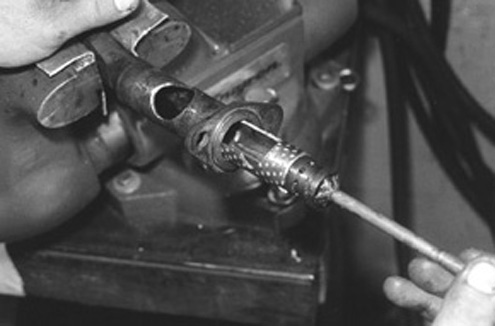
Next, remove the reaction valve plugs. Gently tapping the valve
on the workbench should make the plugs pop out along with the springs,
washers, and reaction valve.
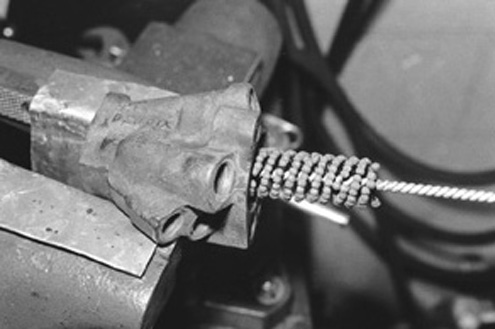
Briefly hone the valve spool bore with a brake cylinder hone.
Then wash the valve housing in solvent. Clear with compressed air.
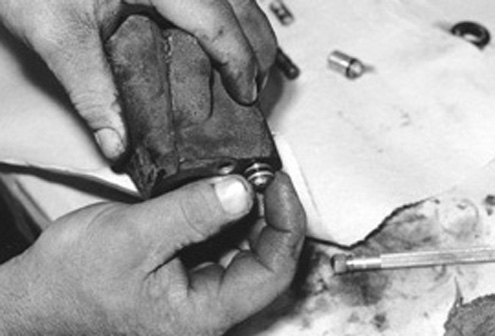
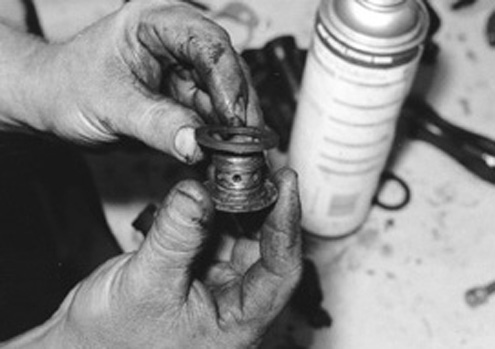
Both reaction valve spring plugs should be washed, then fitted with
new rubber O-rings from the CJ Pony Parts kit. Soak the plugs in
transmission fluid and bathe the seals.
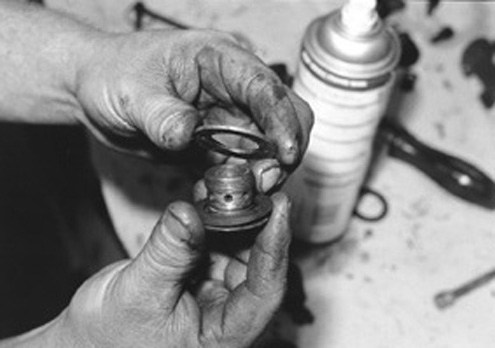
Install the reaction valve washer first on the small side of the valve.
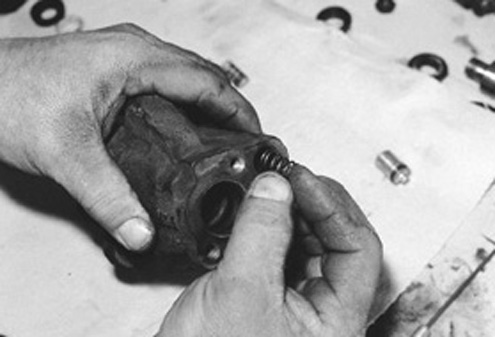
Install the spring.
Then install the lubricated plug.
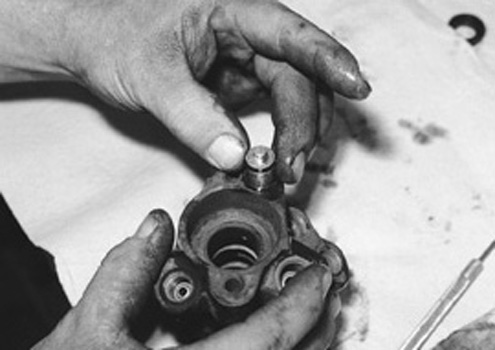
(Photo A,B,C,D) On the large side of the valve, install the reaction
valve, washer, spring, and plug as shown. Use plenty of lubrication.

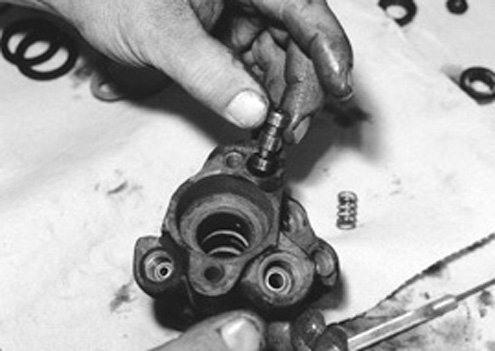
Slide the valve spool in place using plenty of transmission fluid,
then check the spool for free travel. It should slide smoothly. Any
binding or drag is cause for inspection.
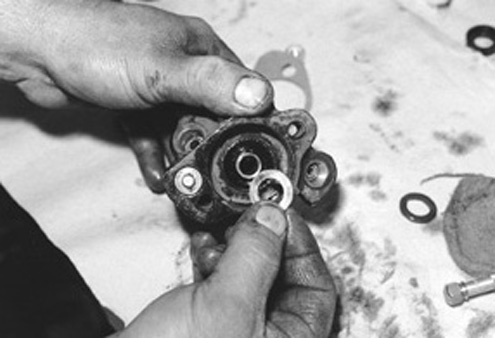
(Photo A,B,C,D) Valve spool seals are next. Again, lots of lubrication
for smooth operation. Begin with the seal, then washer, then cushion,
and finally the spacer on the large side.
Install the valve spool seal on the small side.
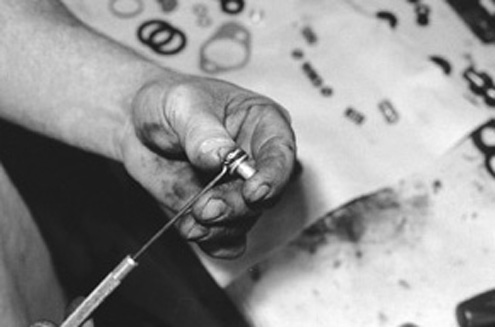
The stop pin must be driven out of the travel regulator next.
Fabricate a ball-stud socket removal tool using the screw-in bumper
from a trashed power-steering control valve. Use this to remove the
old ball-stud socket and install the new one. The tool is screwed into
the ball-stud socket for removal and installation.
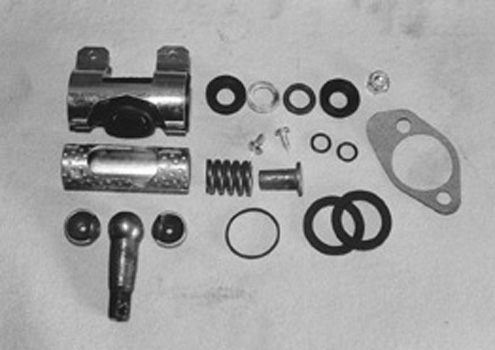
This is the power-steering control valve kit. Everything is here
except the valve spool, reaction valve, and plugs.
(Photo A,B,C,D) The ball-stud socket is next, installed with the homemade
tool mentioned earlier. Slide the ball-stud socket into place and leave
approximately 1/8-inch showing. Install the ball-stud seat cup as shown,
then insert the ball-stud. With the ball-stud installed, insert the outer
ball-stud cup.


Next, the bumper spring and bumper.
Install the cushion and washer on the travel regulator.
Rubber first, then steel.
This is the stop pin mentioned earlier in the text. The stop pin fits in the spool bolt.
The dust shield and clamp are next. Tighten the sheetmetal screws that
hold the clamp in place.
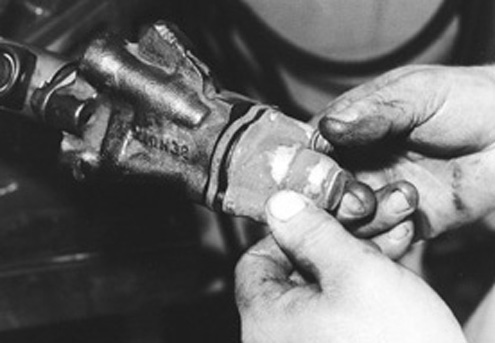
The control valvebody slides onto the valve spool bolt as shown. Don’t forget
the gasket shown here.
(Photo A,B,C,D,) Install the adapter plate, washer, spacer, centering spring,
and spring seats. Adjust the centering spring by tightening the adjustment
nut securely, then backing off 1/4-turn.
Reinstall the spring cap. Don’t forget the O-ring seal. Grease the ball-stud
and socket with chassis lube as shown.