quote:
Originally posted by sbca96
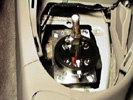
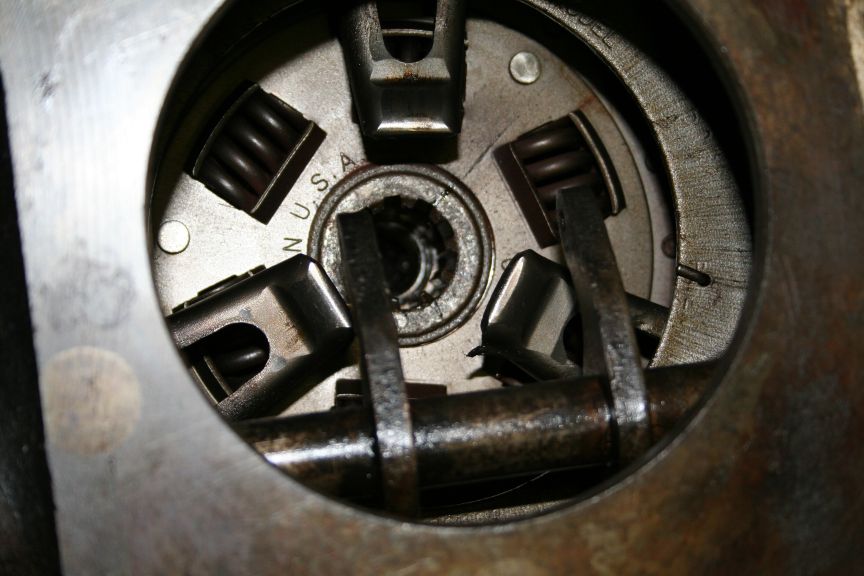
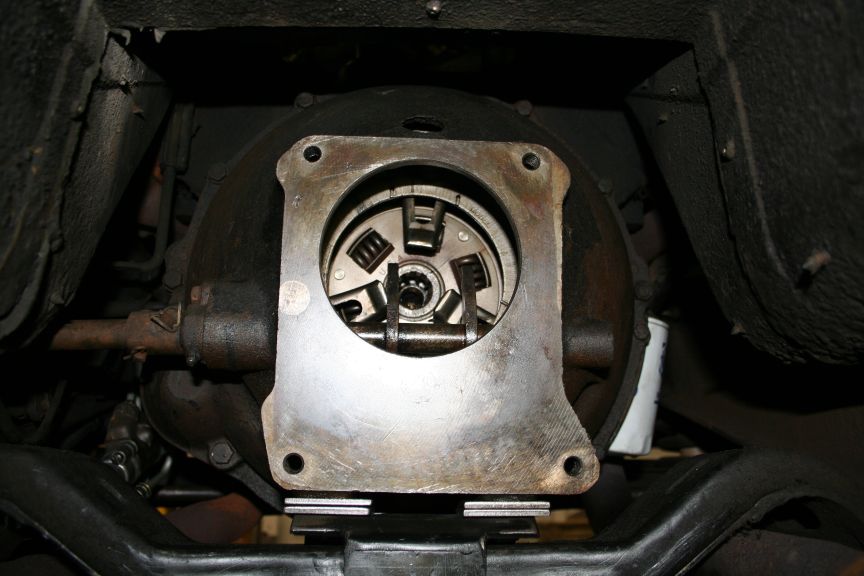
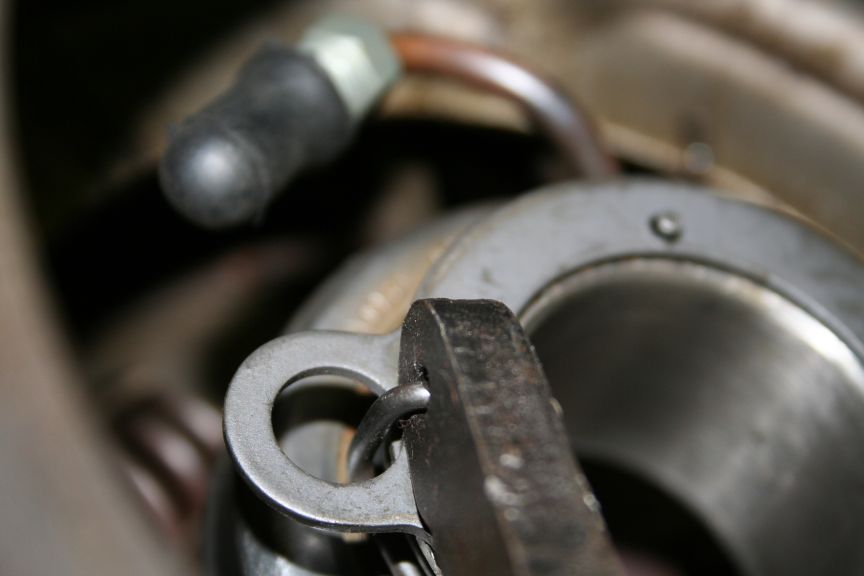
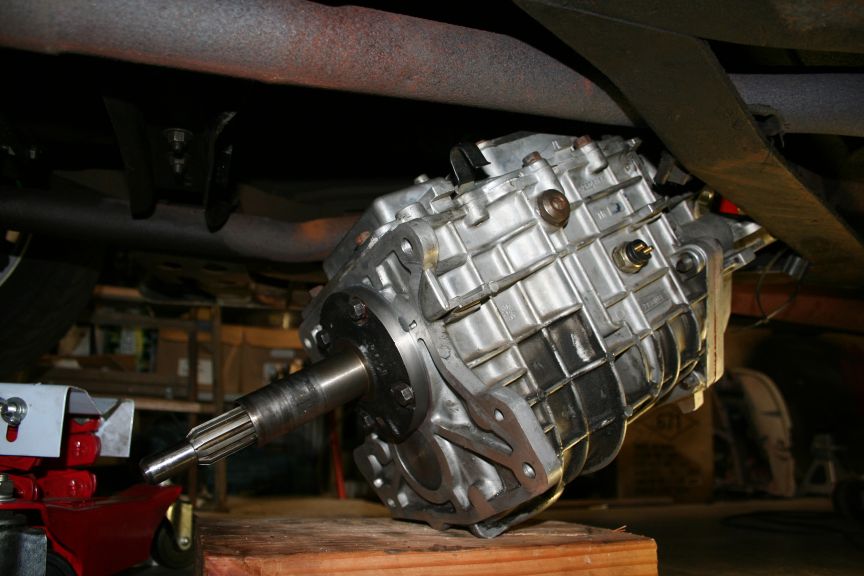
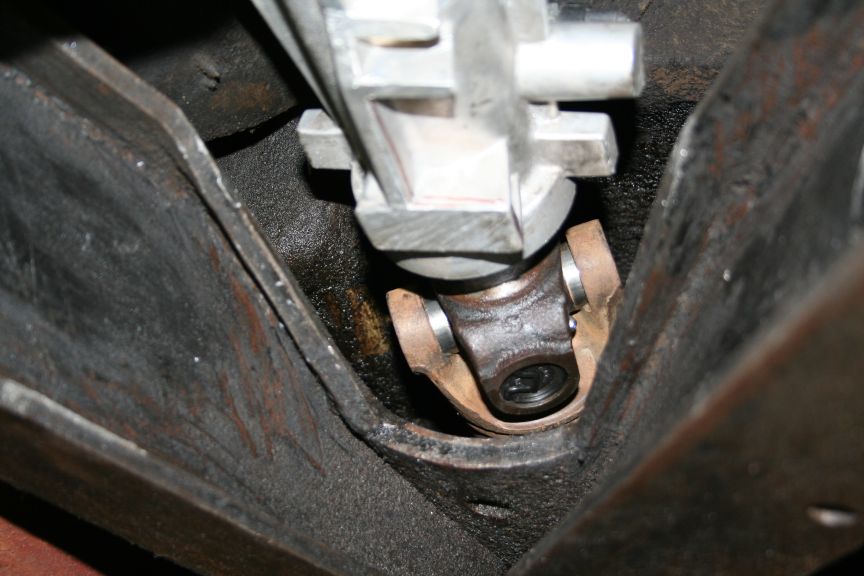
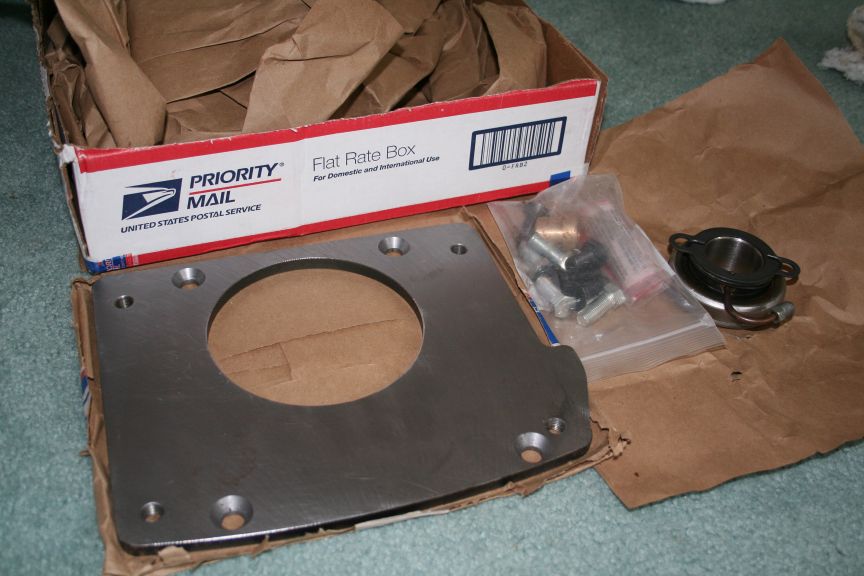
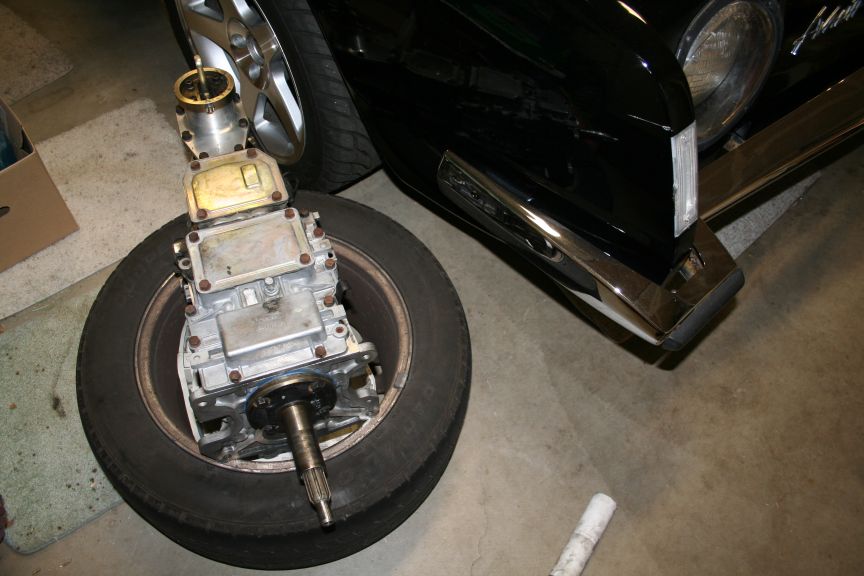
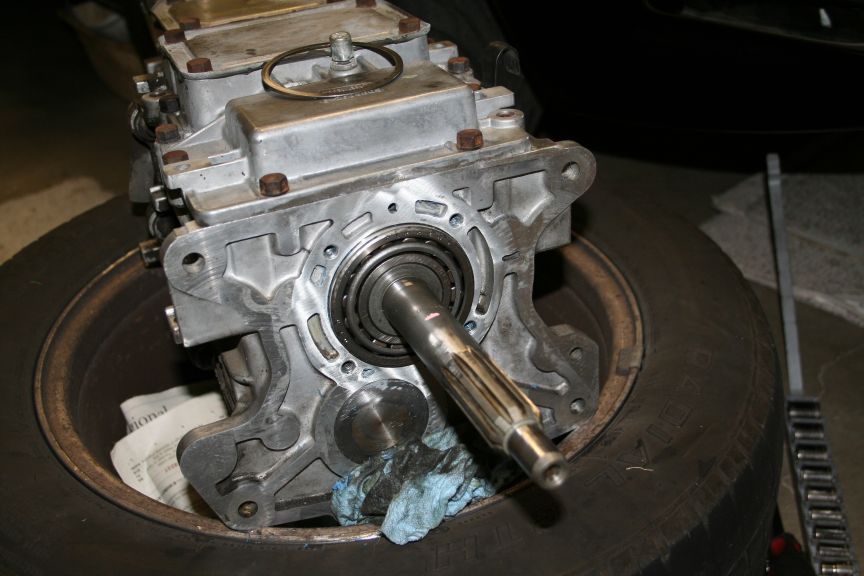
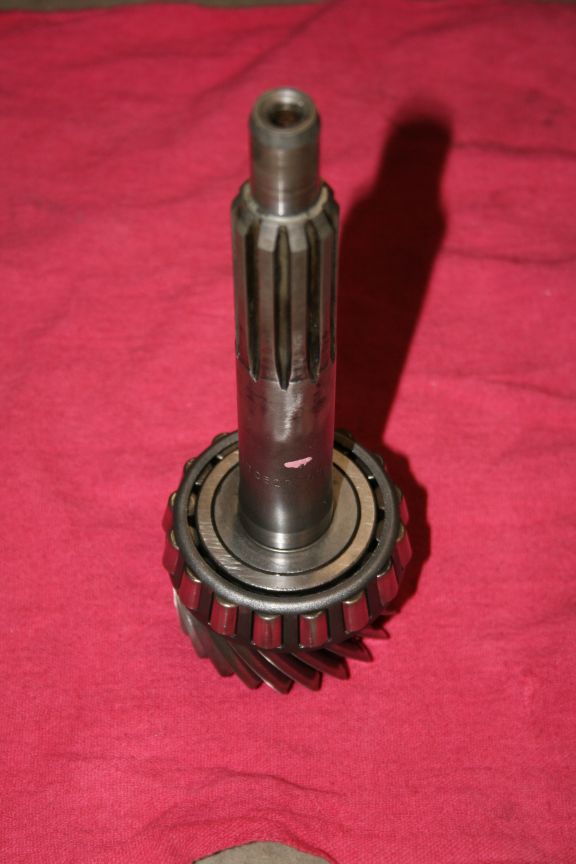
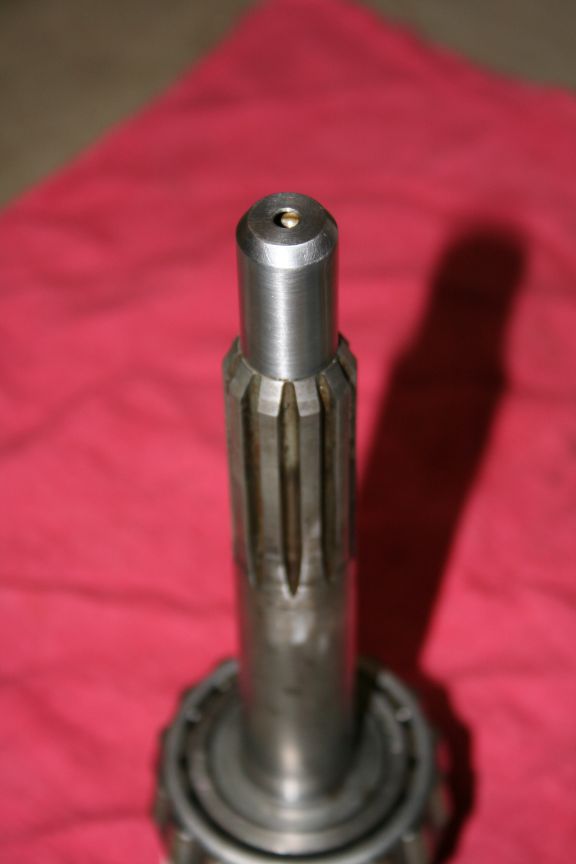
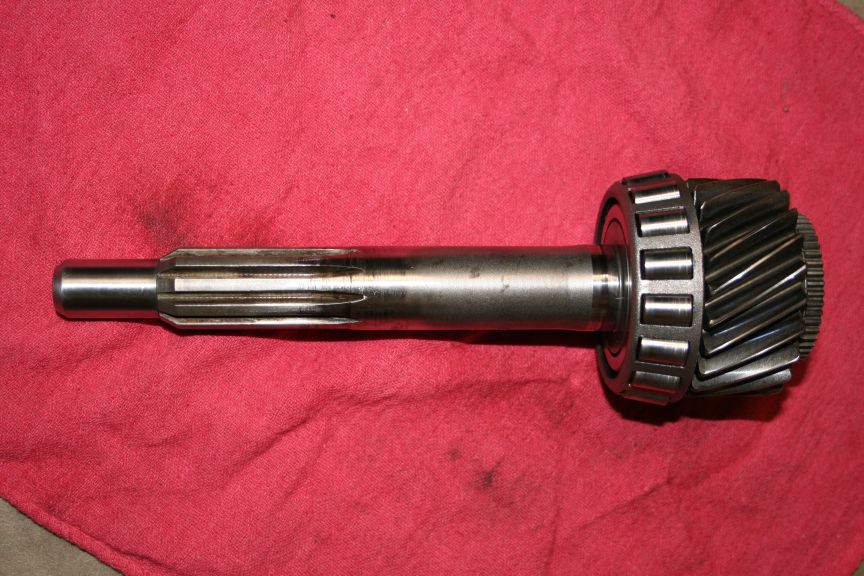
Short update, I received the input shaft extention in the mail this
weekend, and removed the input shaft. I followed the instruction in
the manual, but 17 little roller bearings STILL fell out inside the
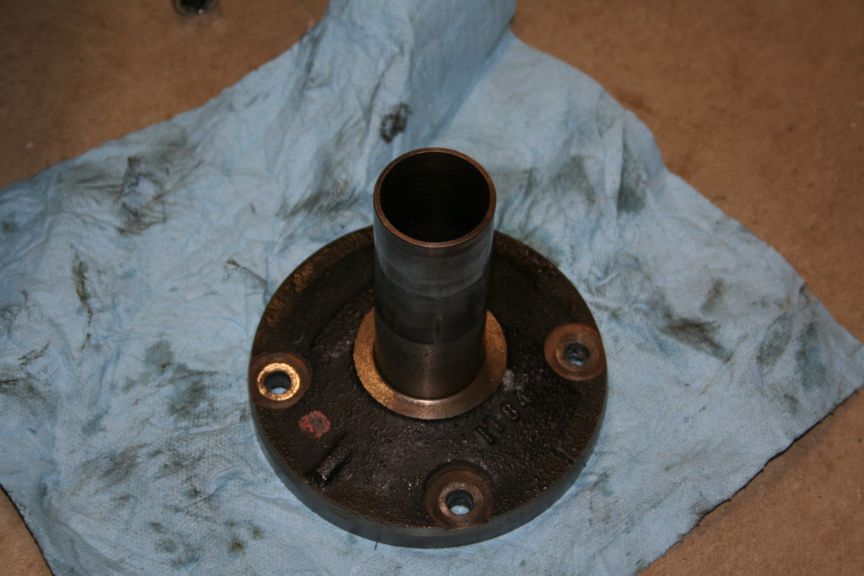
transmission when I CAREFULLY pulled the input shaft out. For those
who end up with the same problem, I used a little telescoping magnet
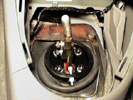
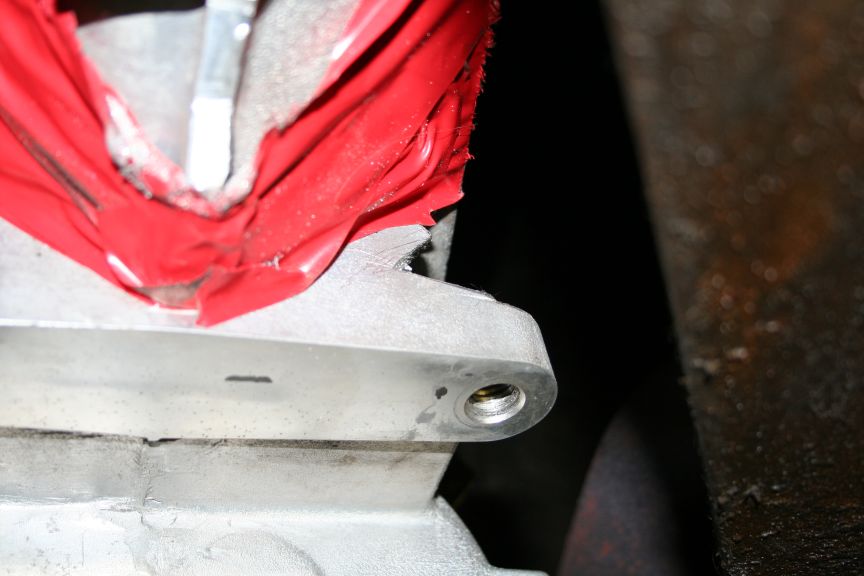
to retrieve them through the drain plug hole at the case bottom. At
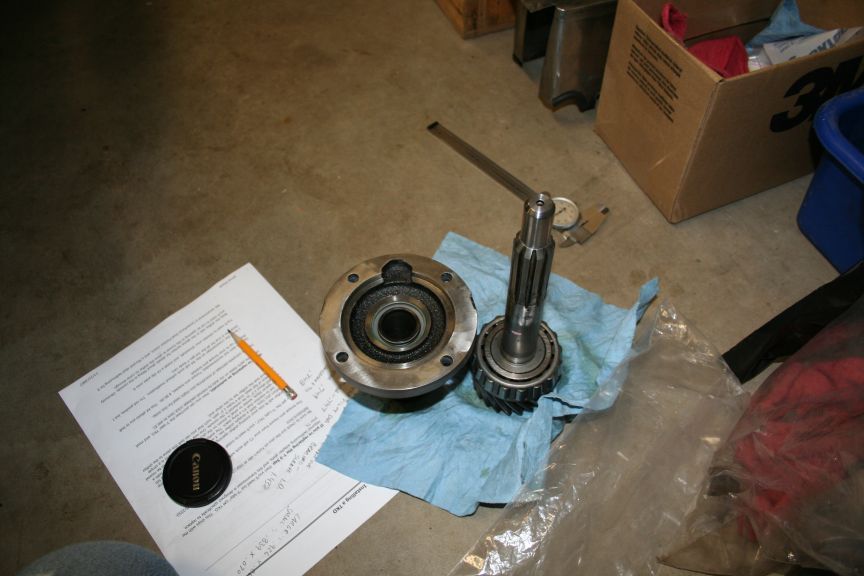
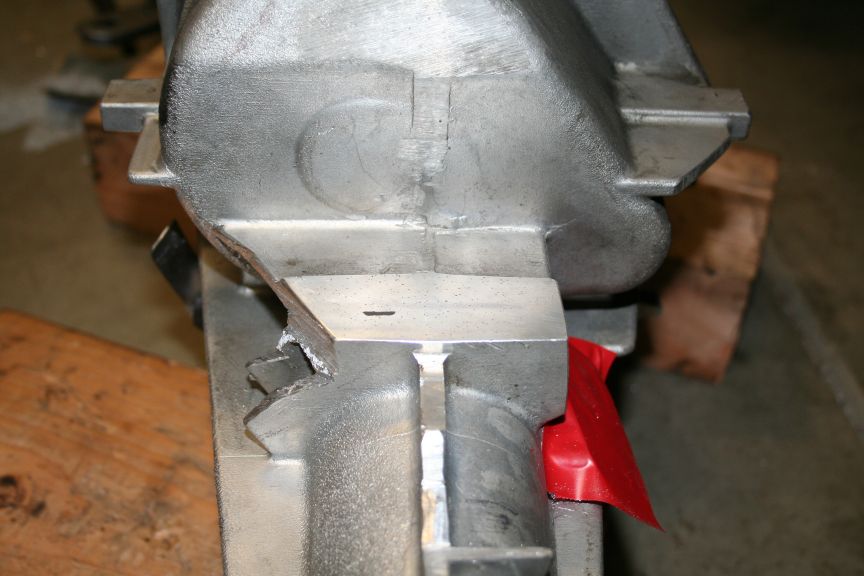
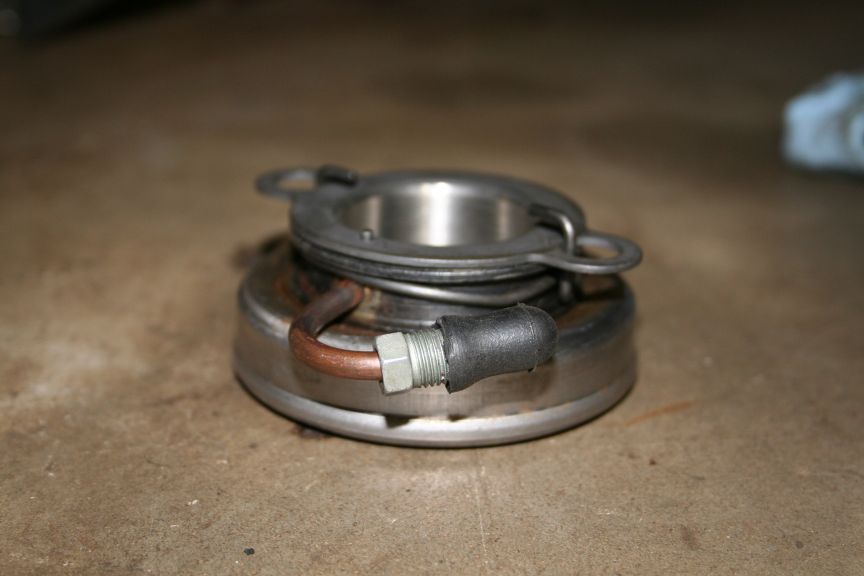
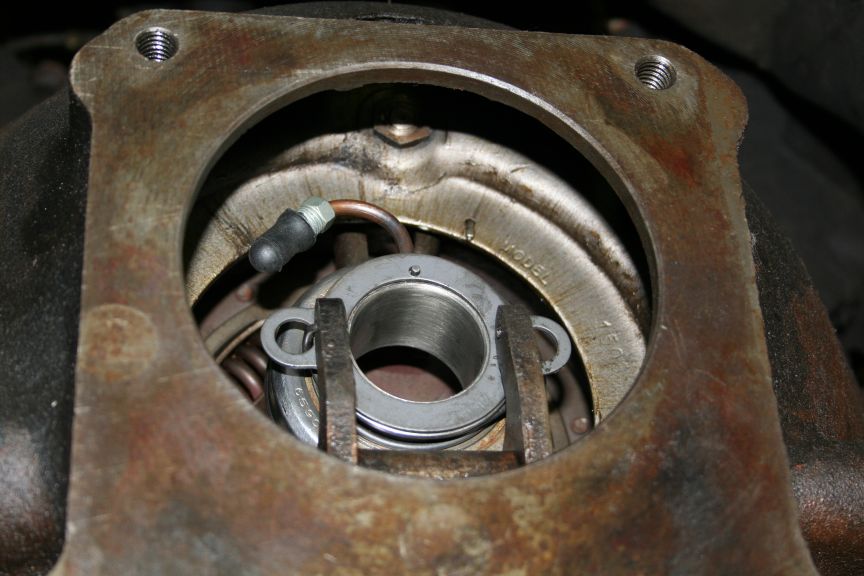
inspection of the front bearing, the race looks worn, and the rollers
also.
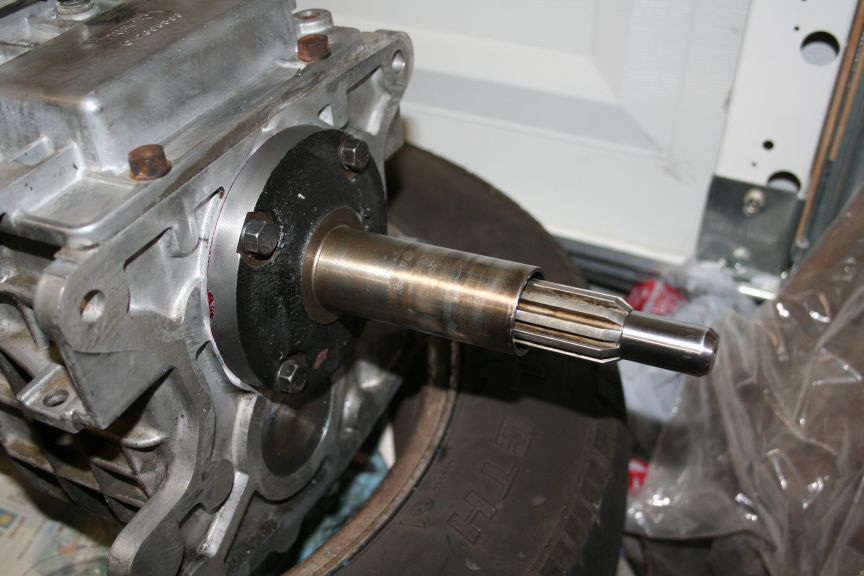
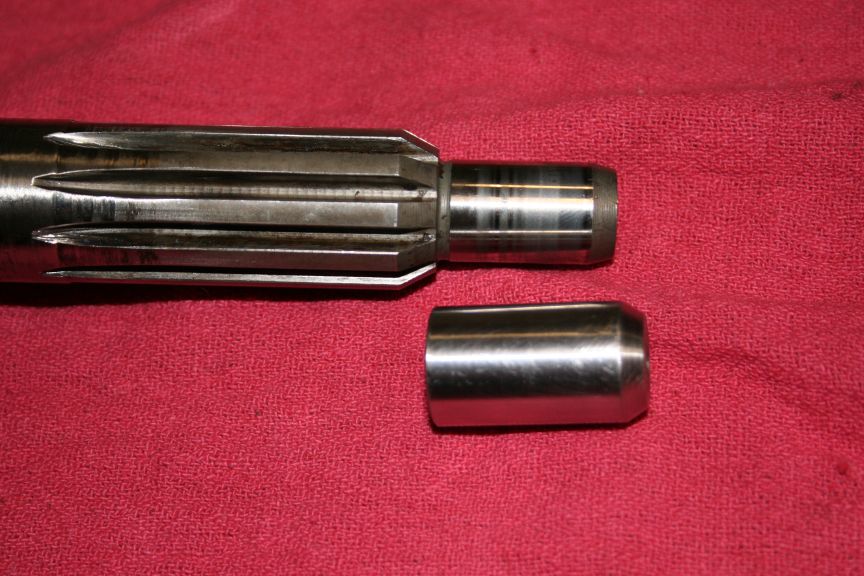
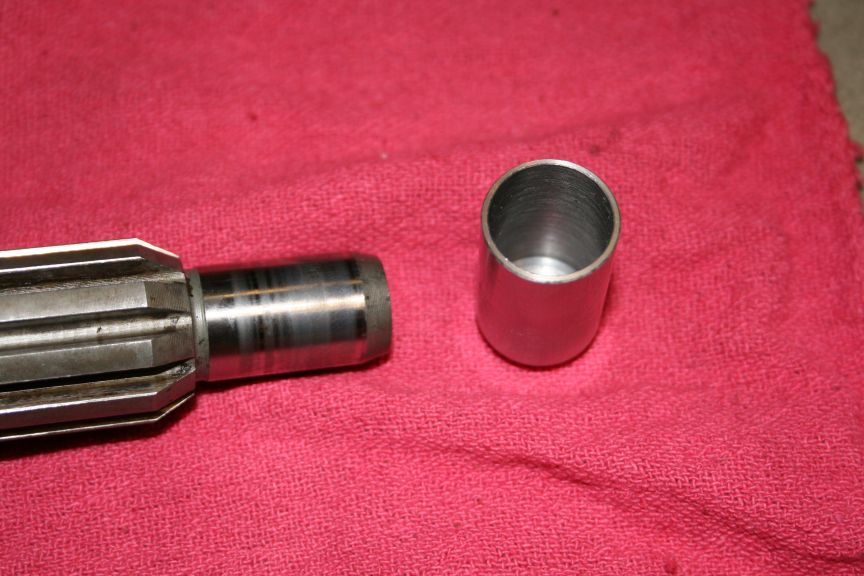
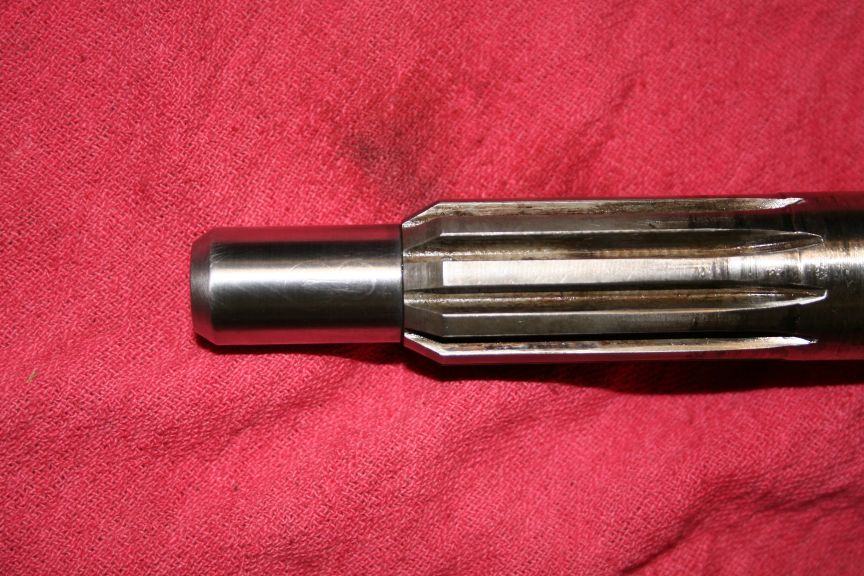
The trick is, Dan put an interference fit to hold it tight to the tip
of the input shaft. The process of heat treating the 01 Tool steel
is to heat to 1200 degrees F and cool in oil. While the piece is at
1200 degrees, it will easily slide onto the input shaft. My work is
versed in how to do this process, so I will hand it off to Guy again
and let the experts do their thing!
Tom


 Reply
Reply


 Thanks for the update